Meshtastic Build-Off 2026 – Meshtastic firmware implementation
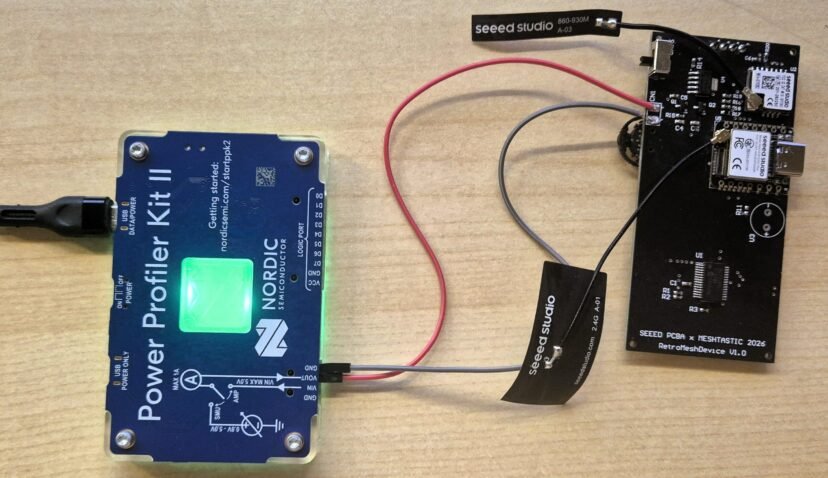
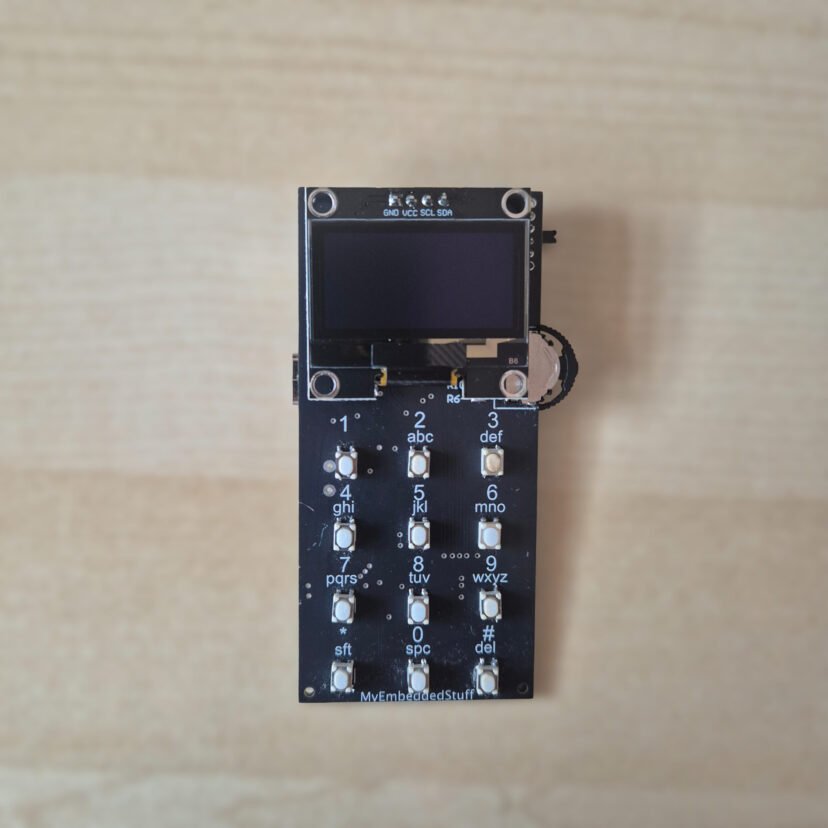
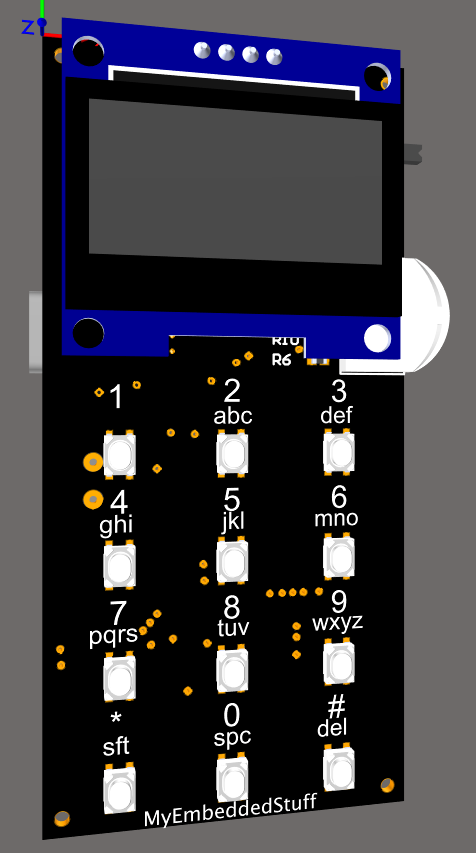
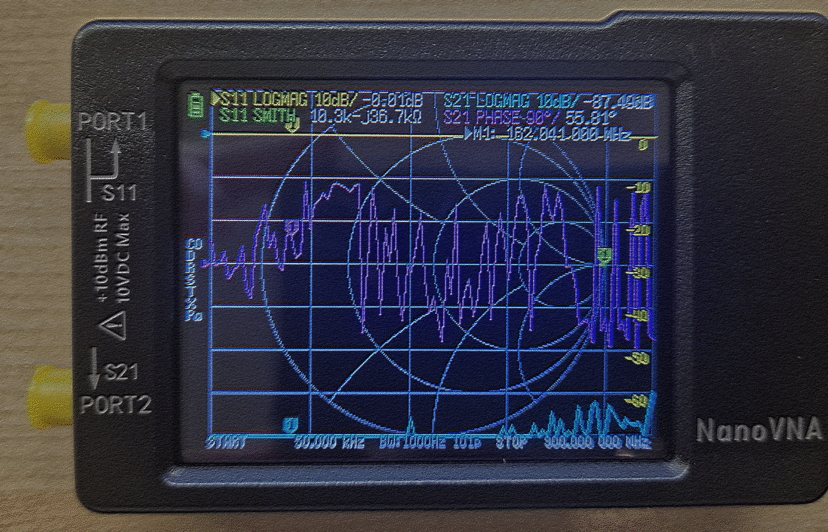
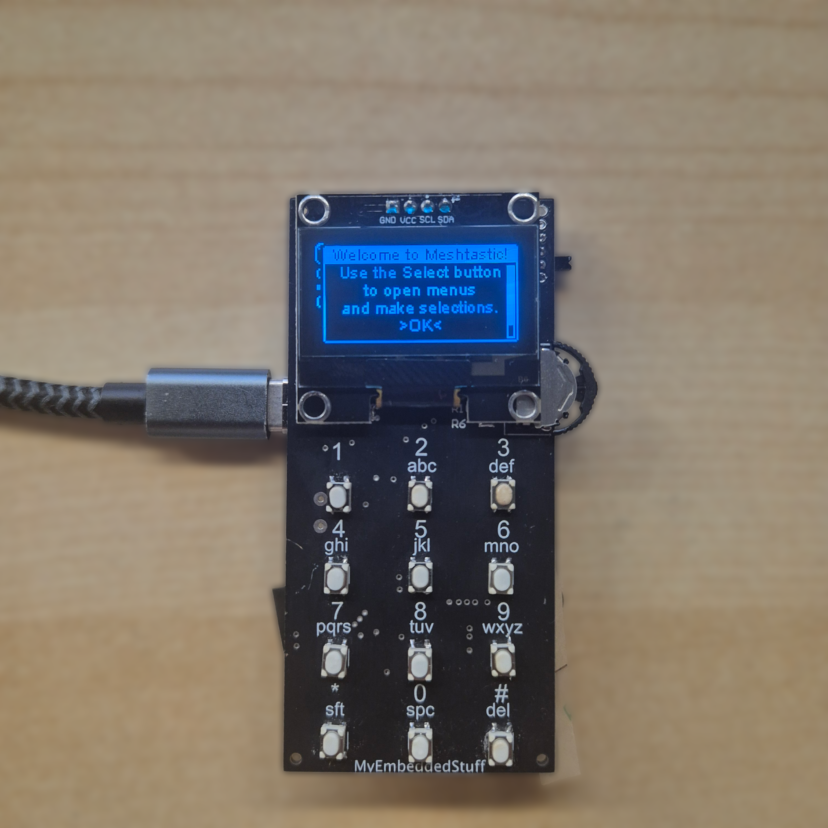
This post belongs to the series of posts about the Meshtastic BuildOff 2026. The previous posts are:https://myembeddedstuff.com/meshtastic-build-off-2026-retromeshdevicehttps://myembeddedstuff.com/meshtastic-build-off-2026-pcb-assemblyhttps://myembeddedstuff.com/meshtastic-build-off-2026-hardware-bring-upThe final remaining step for my device was to compile the Meshtastic firmware for my board.Official repo: https://github.com/myembeddedstuff/RetroMeshDevice Meshtastic implementation Before starting with the integration of my device into the Meshtastic firmware, it is worth taking a moment to understand how it is structured. In case there were any doubts, it is important to highlight that this is an open-source project fully written with all the Mesh communication protocol logic already implemented, along with many functional modules. Therefore, our main job is simply to define our hardware guidelines and pinout connections.Additionally, if a specific module is not available, it must be implemented following Meshtastic's framework to maintain…