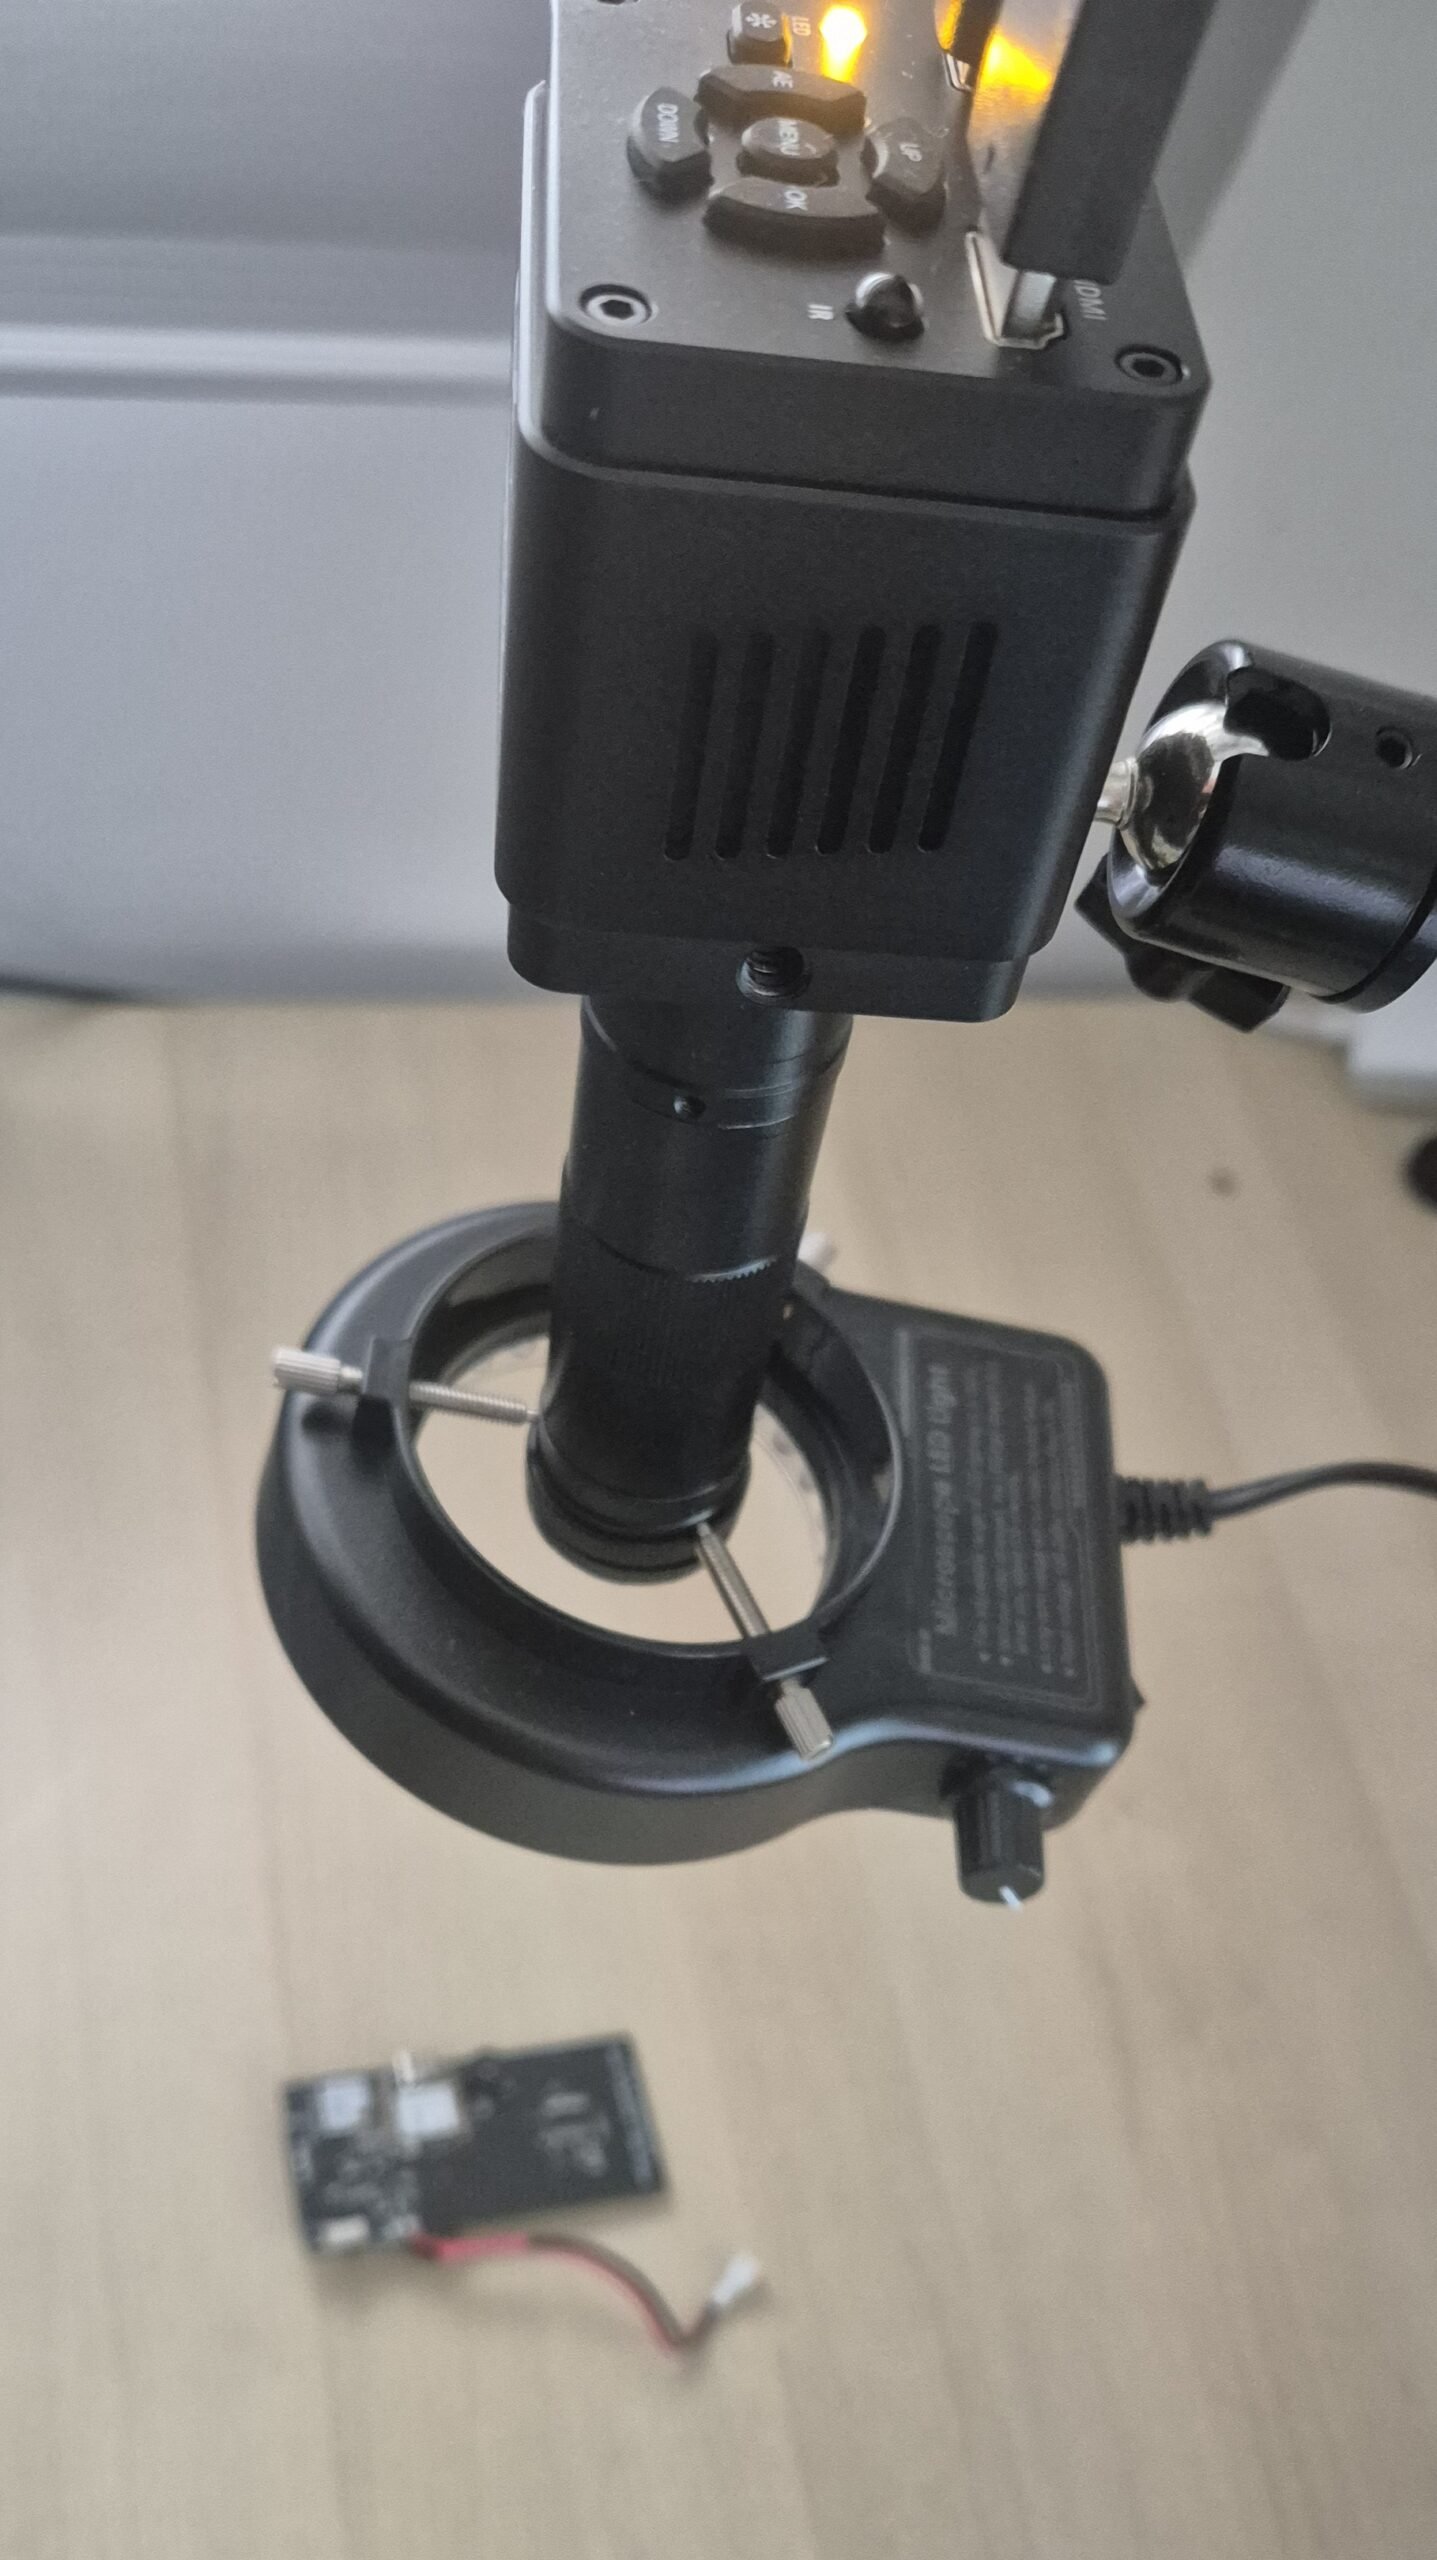
I’ve been using the Yizhan 4K IMX678 digital microscope in my maker lab for a month now, so here’s my review. It’s a 4K microscope camera with HDMI and USB output, a 150X C-mount lens, a rigid stand and an LED ring light, and it costs around €180. I use it for soldering SMD parts, inspecting PCBs and taking photos for this blog.
Why I bought it
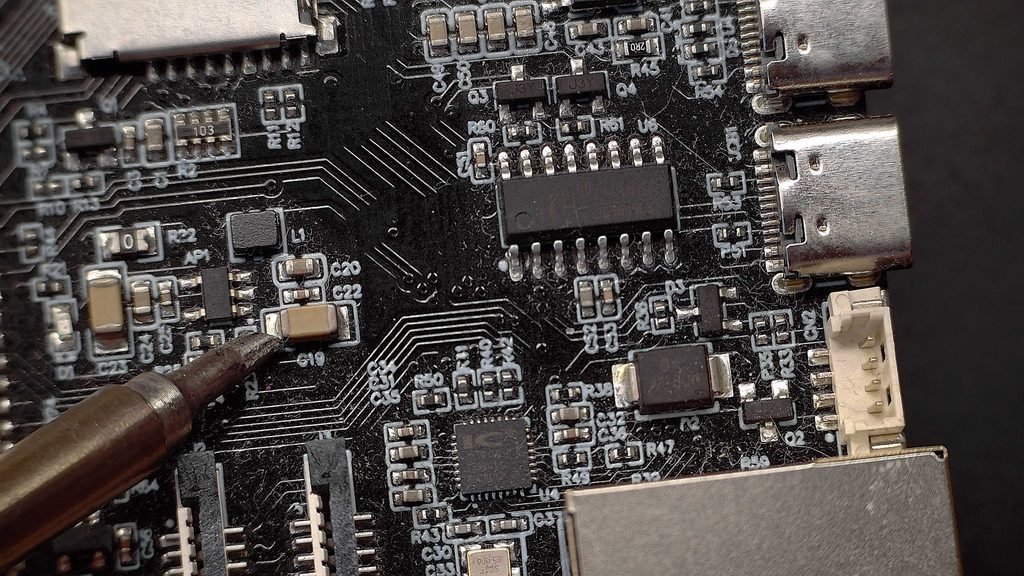
There were mainly two reasons why I decided to buy this microscope: to have a tool for soldering and inspecting my PCBs, and to be able to take higher-quality photographs for my future reviews.
For soldering or PCB inspection, it is a really useful device. It is true that if you are going to solder every day, you may be better off with a stereo microscope, as it provides stereoscopic vision and a better perception of depth, making it more suitable for daily use.
In my case, however, I do not solder or inspect PCBs that frequently. I mainly use it when I receive my own designs and want to solder the components, or when I am doing the first validations of my hardware.
For this type of use, it works very well. The image quality is good and the working space is more than adequate. I have tested it with 0402 components, and they can be soldered with a high level of detail and with low enough latency to work comfortably.
In the case of 0201 components, the image is also quite good. However, I do not usually solder components of this size, and when I need them, I normally order the PCBs already assembled.
The second reason was to improve the photographs in my reviews. I needed a device with a good camera and a stable stand so that I could get more consistent and better-framed photographs and improve the overall look of my blog.
For both reasons, I decided to buy it.
Specifications
Here are the key technical specifications:
| Feature | YIZHAN 4K IMX678 |
|---|---|
| Image sensor | Sony IMX678 CMOS |
| Sensor size | 1/1.8″ |
| Resolution | 8.29 MP |
| Video | 4K |
| HDMI output | 3840 × 2160 @ 30 FPS / 1920 × 1080 @ 60 FPS |
| USB output | USB Type-C, up to 3840 × 2160 @ 30 FPS |
| Computer connection | Plug & Play, no driver required |
| Lens mount | C-Mount |
| Storage | TF card, up to 64 GB |
| Photo / video | 4K |
| Electronic zoom | Yes |
| Accessories | LED ring light (usually included) |
| C-Mount lens | 130X, 150X (usually included), 180X and 215X |
This is the purchase link from my recommended supplier:
The price is around €180.
Unboxing and build quality
Here are some photos from the unboxing I took as soon as I received it. Everything comes very well packaged and carefully protected.
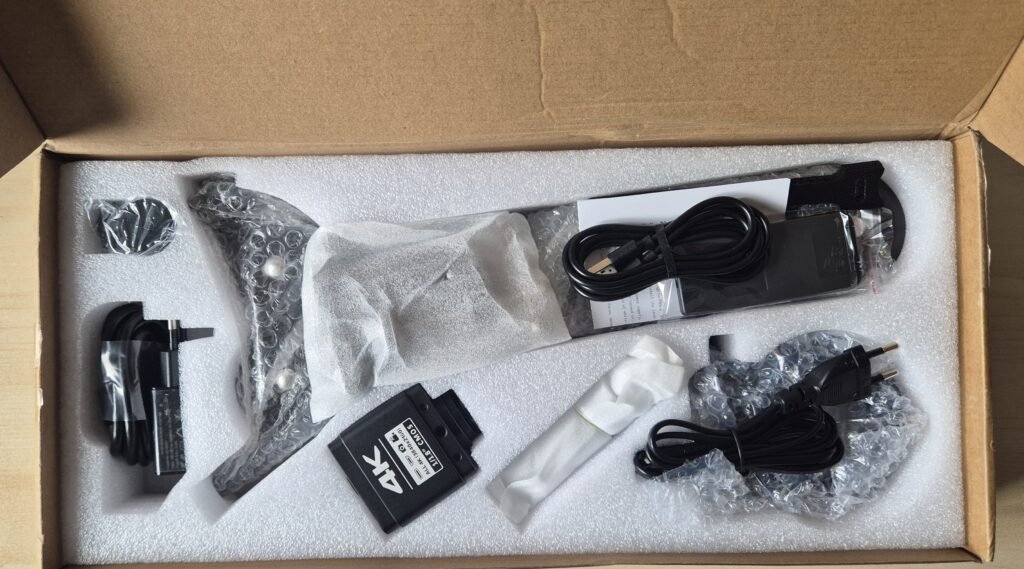
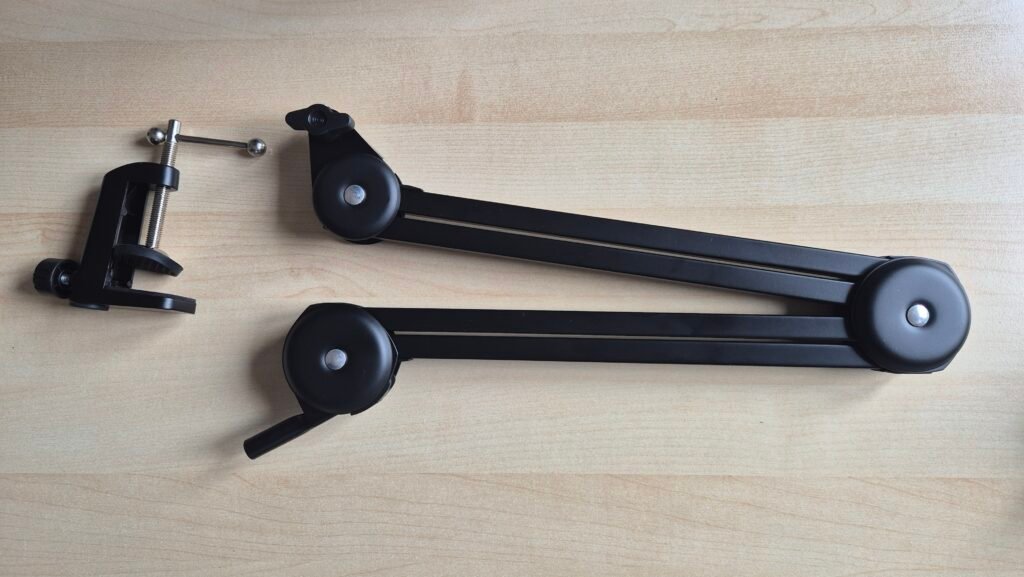
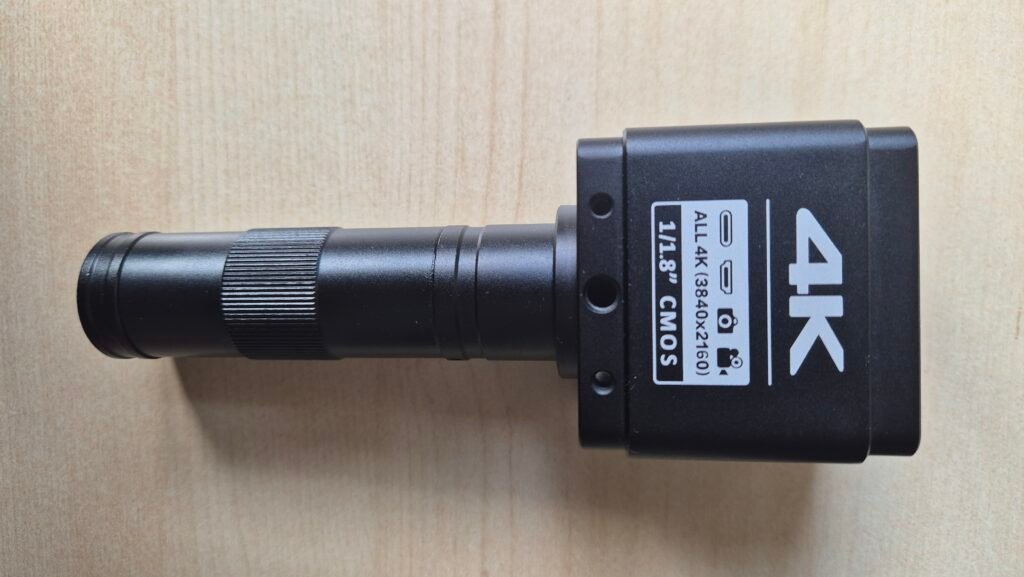
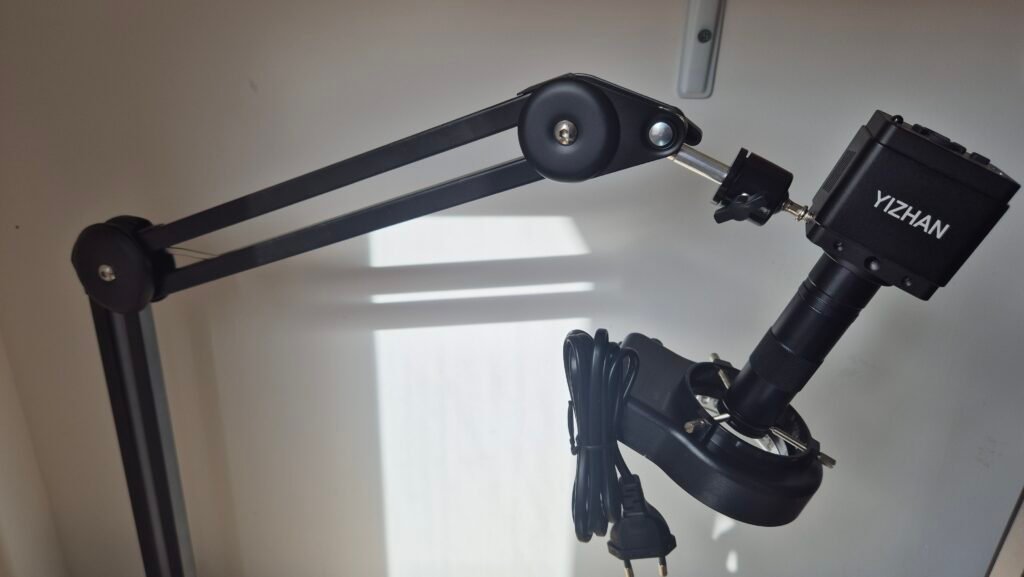
I would like to comment on several important points regarding the accessories and the assembly.
Stand
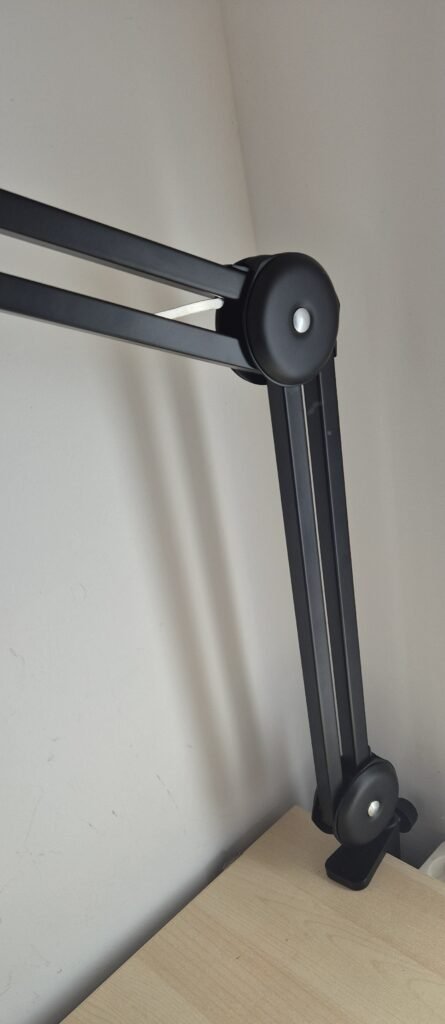
This is one of the things I liked the most. It is a fairly rigid desktop stand, and the best part is that it does not take up much space.
With many stands of this type, when you adjust the height, the arm moves backwards and you end up having to move the table away from the wall to make room for it. This one hardly needs any extra space, so I can keep it closer to the wall and adjust it without any problems.
Other stands for similar equipment have very little rigidity. With a small bump, the camera can move, and vibrations can be very noticeable. I have not had this problem with this stand.
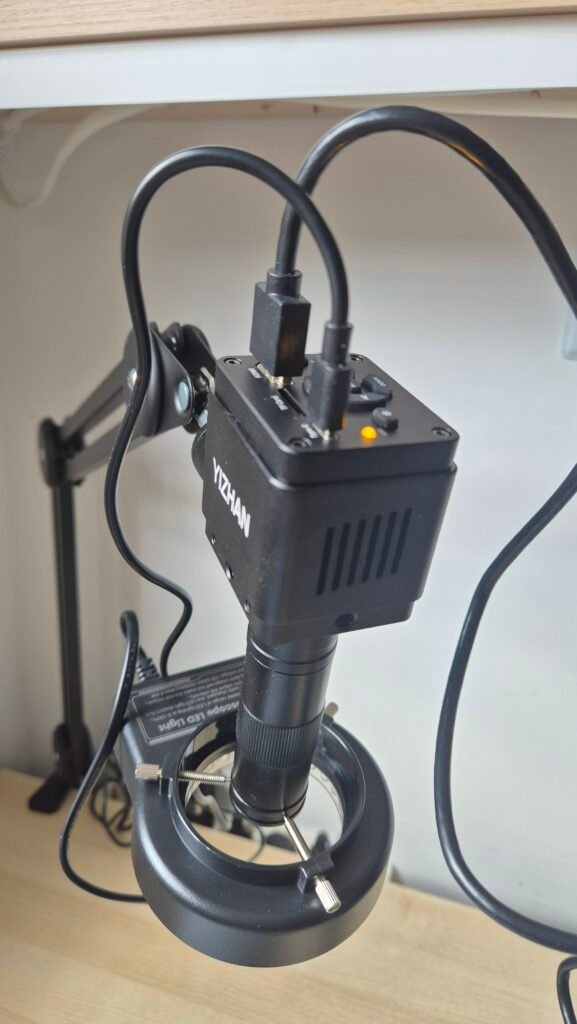
LED Ring Light
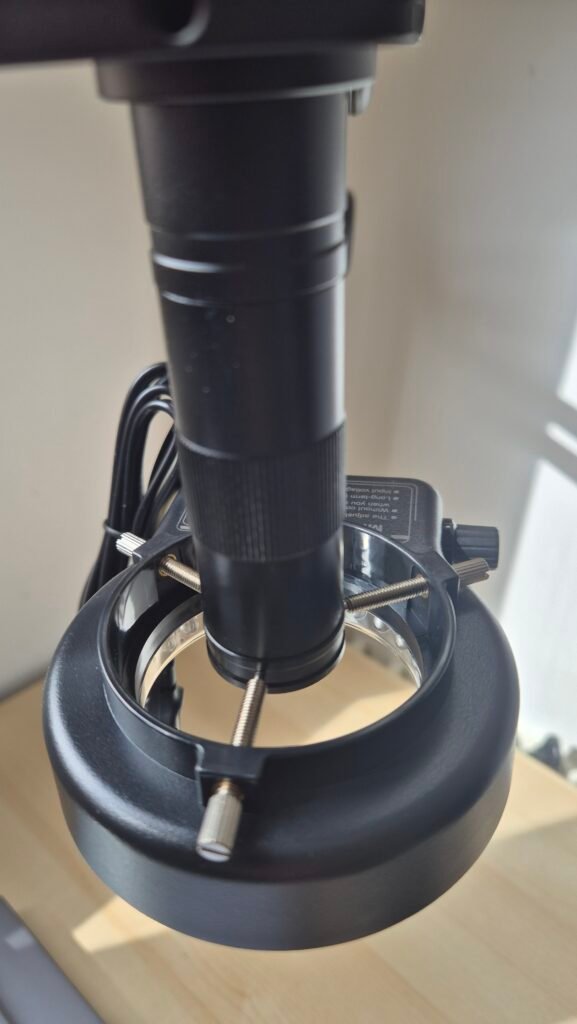
It comes with an LED ring light that connects to an additional connector.
There is not much to say about it, but it is useful when you need some extra light while working, and the brightness can be adjusted using a rotary control.
C-Mount Lens
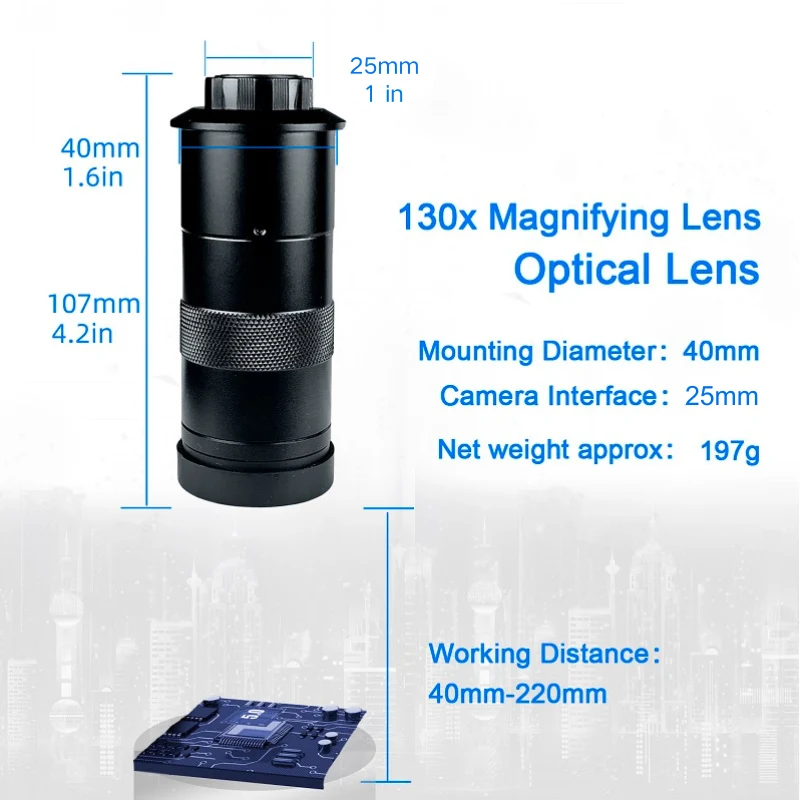
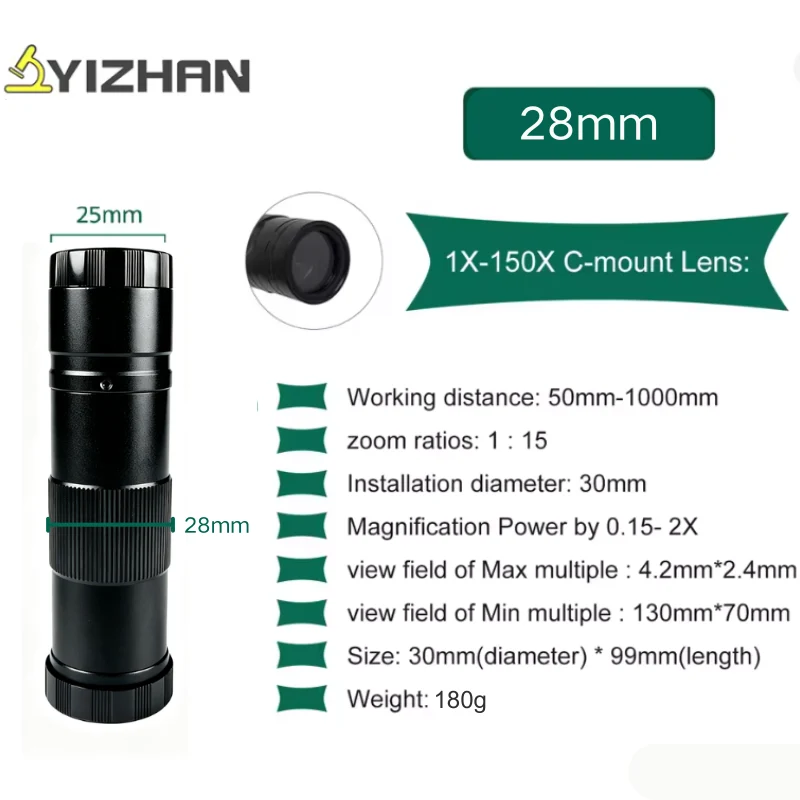
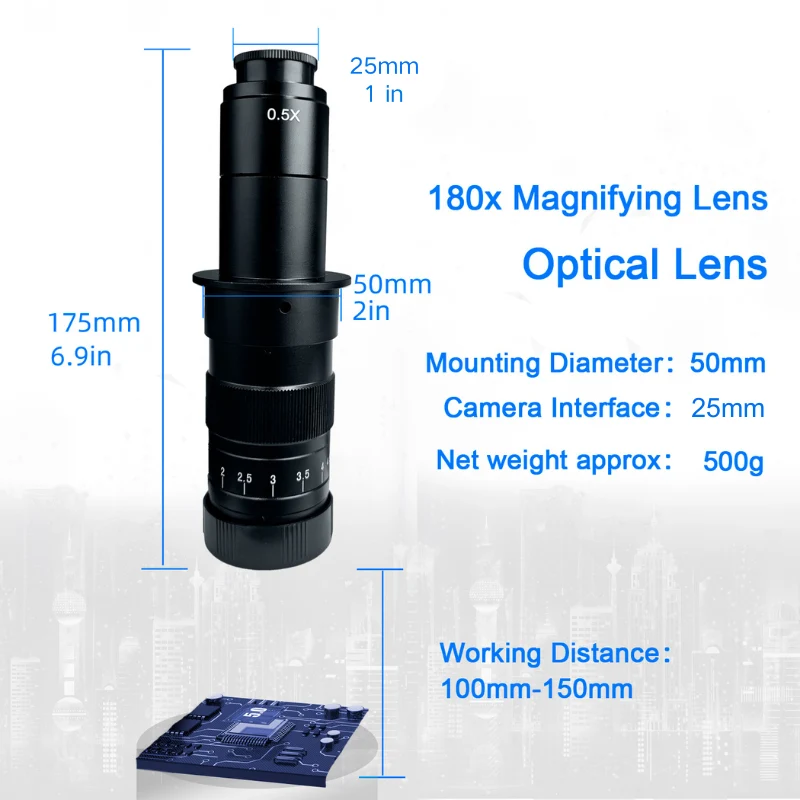
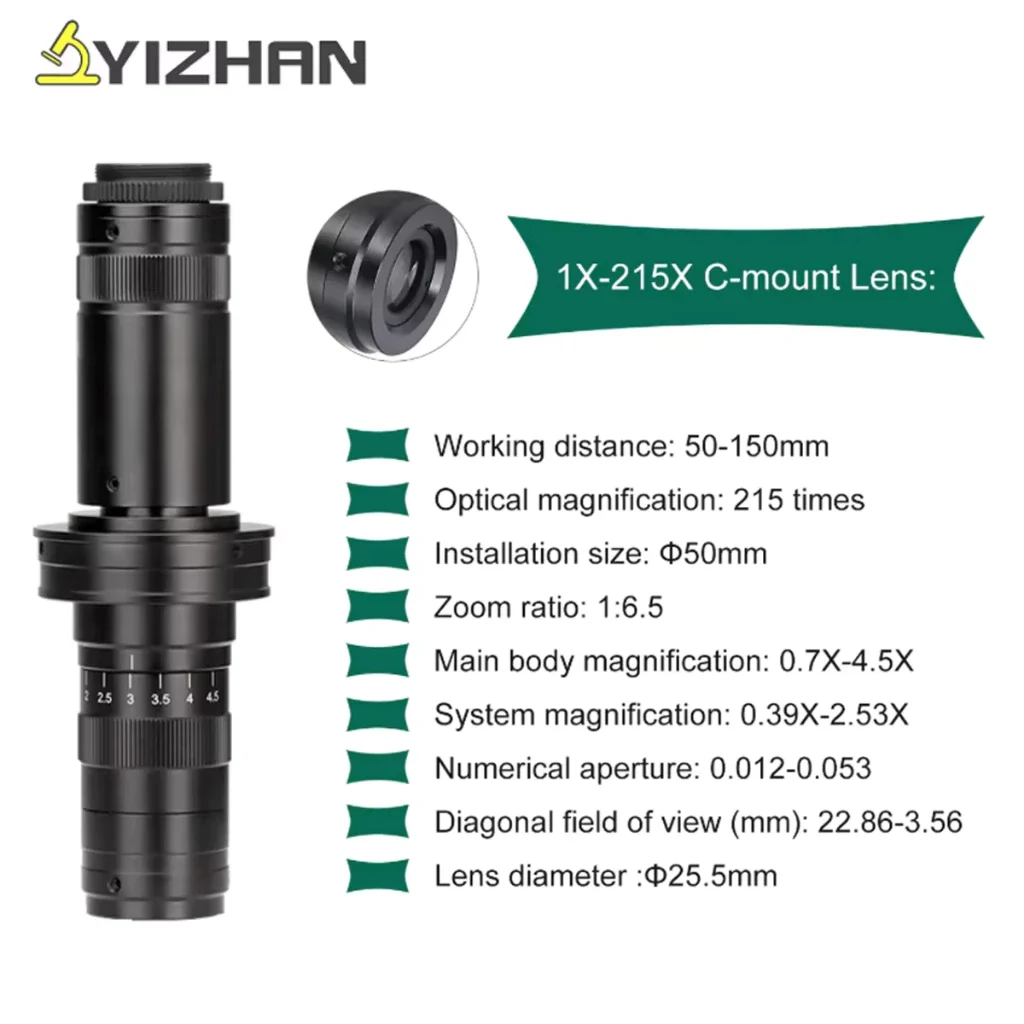
YIZHAN offers several lens configurations with different advertised magnification levels. The lens included with my unit is the 150X version, although other configurations are also available, including 130X, 180X and 215X versions.
The C-Mount design also makes it possible to change the lens, which is useful if you want to prioritize either a wider field of view or higher magnification depending on the type of work you are doing.
Connection modes
The microscope can be used in two different ways: connected to a monitor via HDMI, or connected to a PC via USB. Each option has its own advantages and disadvantages.
HDMI
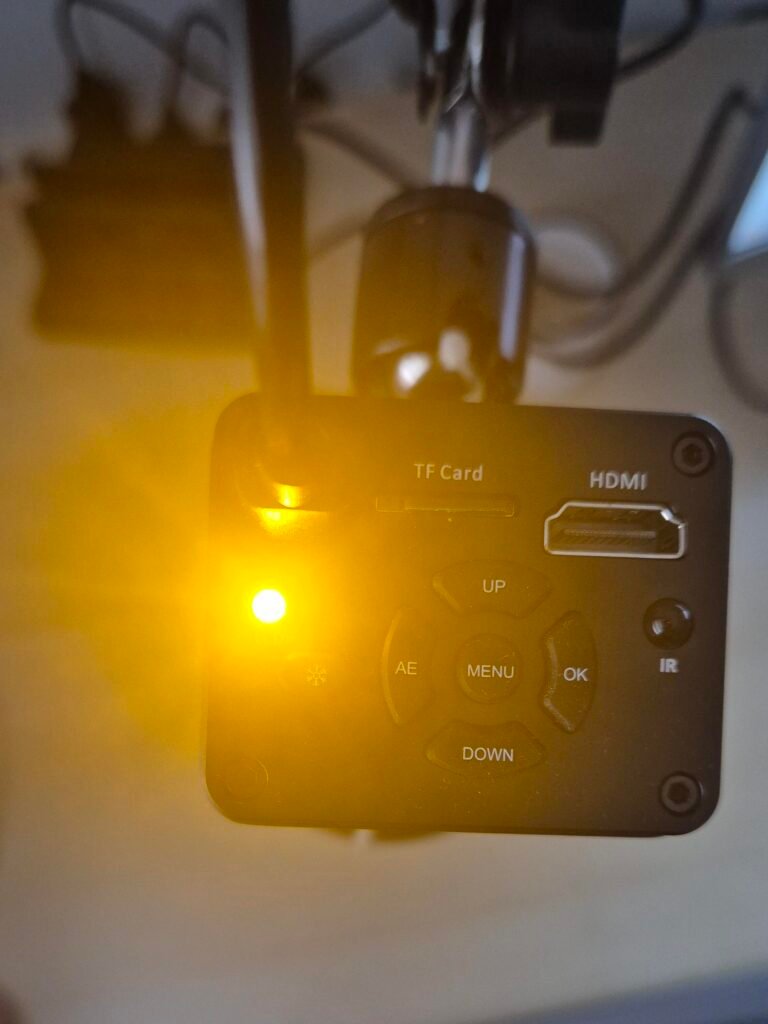
This is the simplest option. You connect the HDMI cable to the monitor and the power supply through the USB Type-C port, using the adapter included in the box. Once connected, you can immediately see the image on the screen.
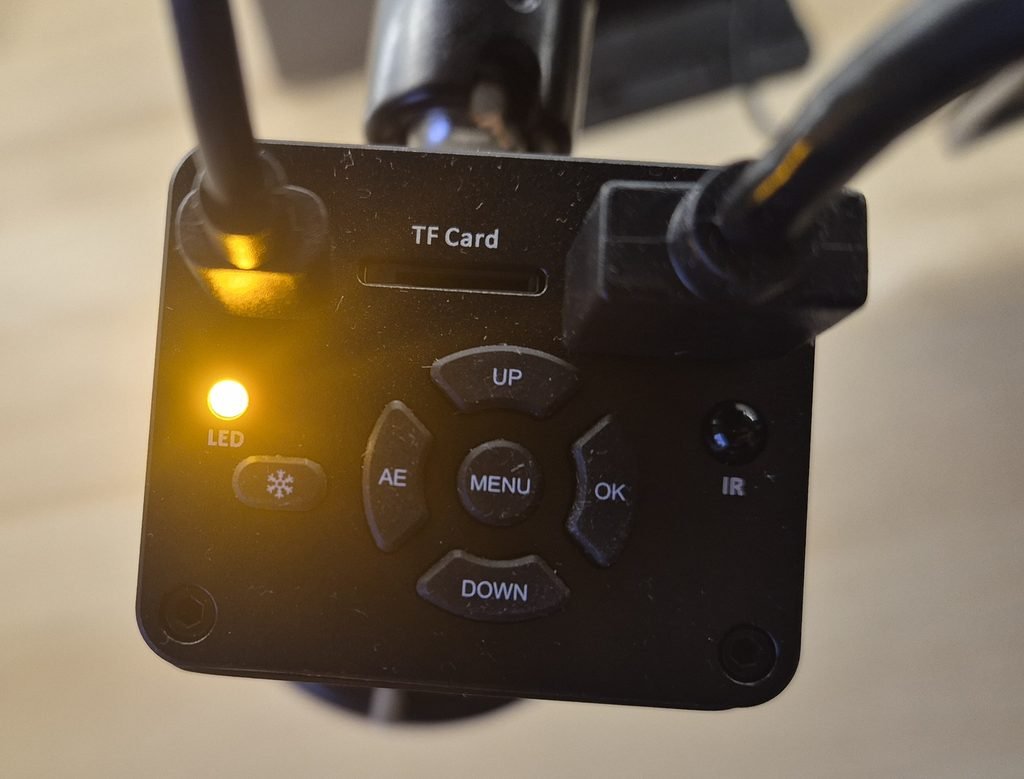
For me, this is the connection mode that provides the best image quality. The microscope can be controlled through the camera menu or using the IR remote control, which uses a CR2025 battery. This battery is not included in the box, so keep that in mind when you buy it.
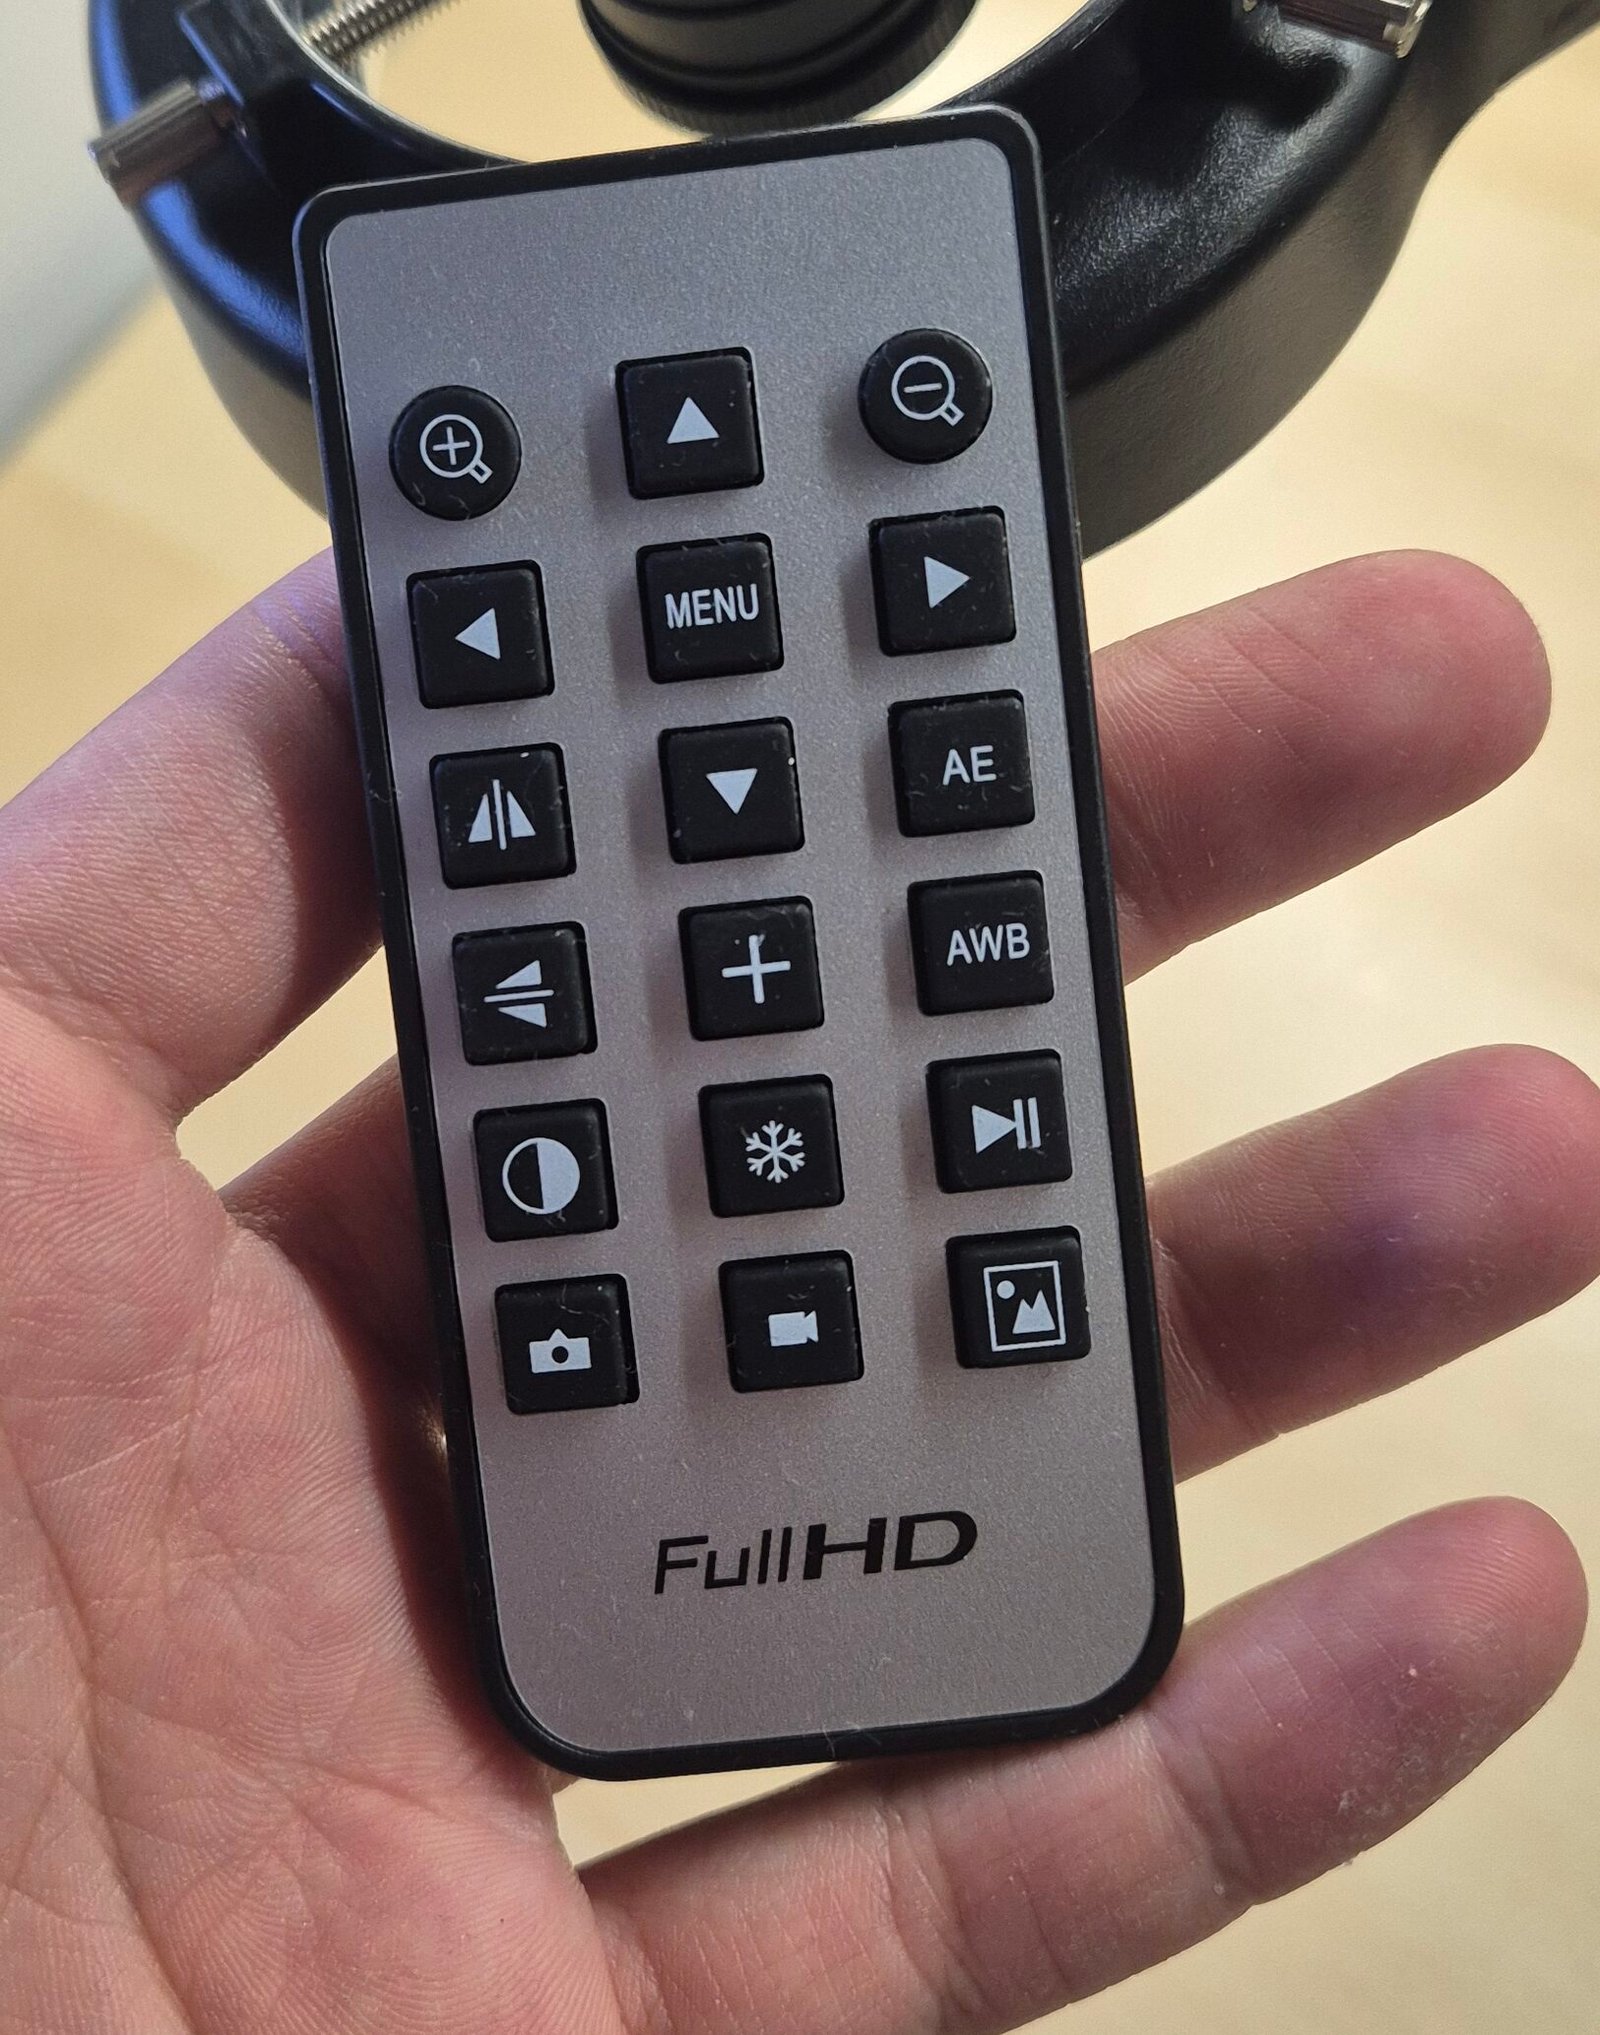
From there, you can:
- Save photos and videos directly to a microSD card (TF, up to 64 GB).
- Use digital zoom up to 4X. However, you can clearly notice the loss of quality as you increase the zoom.
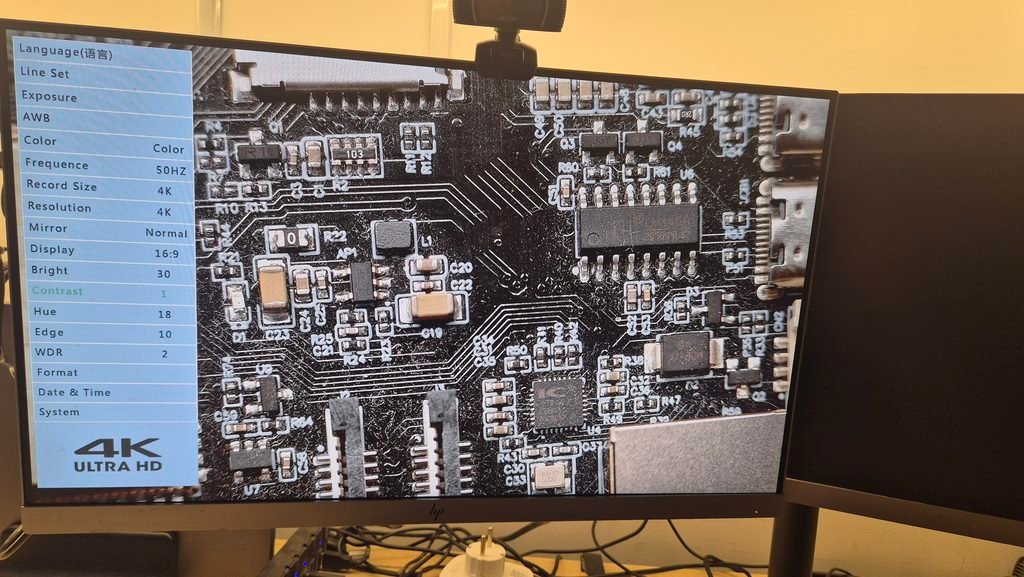
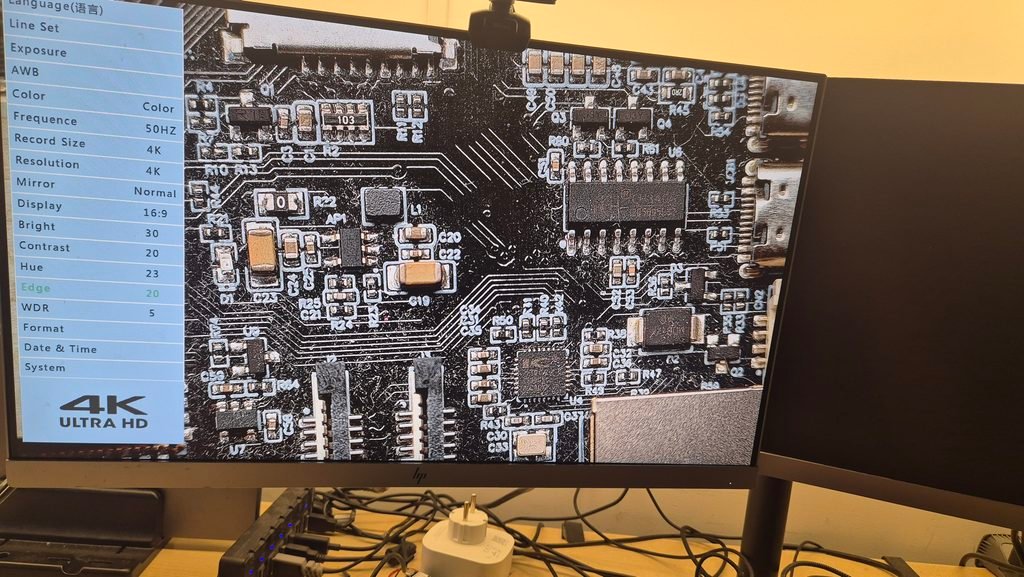
- Adjust contrast, brightness, hue, edge and WDR.
PC
To use it with a computer, you only need a Type-C to USB-A cable between the microscope and the PC, and you need to download the software from the manufacturer’s website.
The software is called ImageView, and on the manufacturer’s website it appears as “Yizhan Digital Microscope Driver”.
https://yizhanmicroscope.com/pages/download
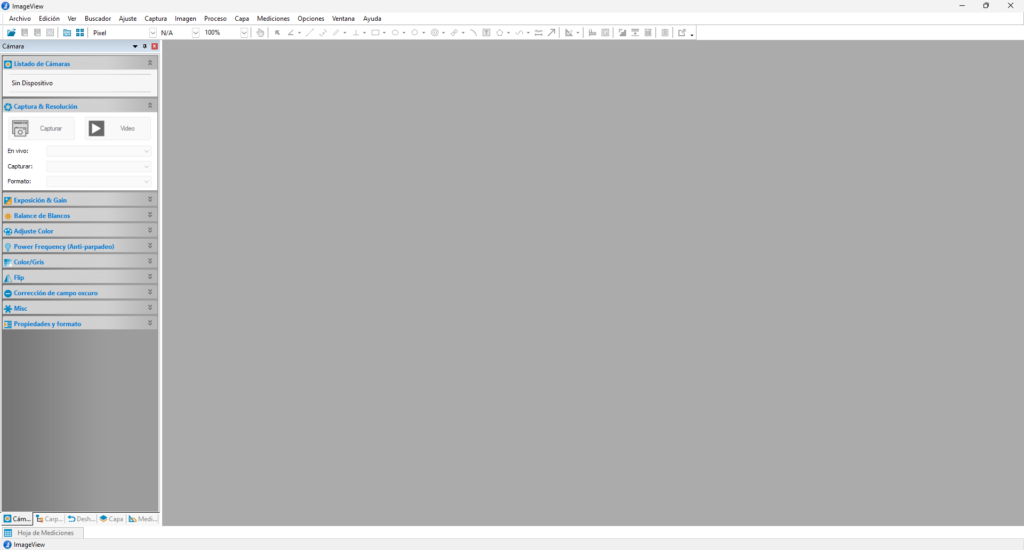
In this mode, neither the camera menu nor the remote control works. Everything is configured from the software.
It has the same settings available in HDMI mode, plus a few extra features, such as the ability to make measurements on what you are viewing. Apart from that, the experience is quite similar.
Personally, I find the image quality over USB to be slightly worse than through HDMI.
For soldering, I prefer to sacrifice a monitor and have the microscope always visible in front of me rather than use the application. However, for a quick inspection, using the PC is much more convenient.
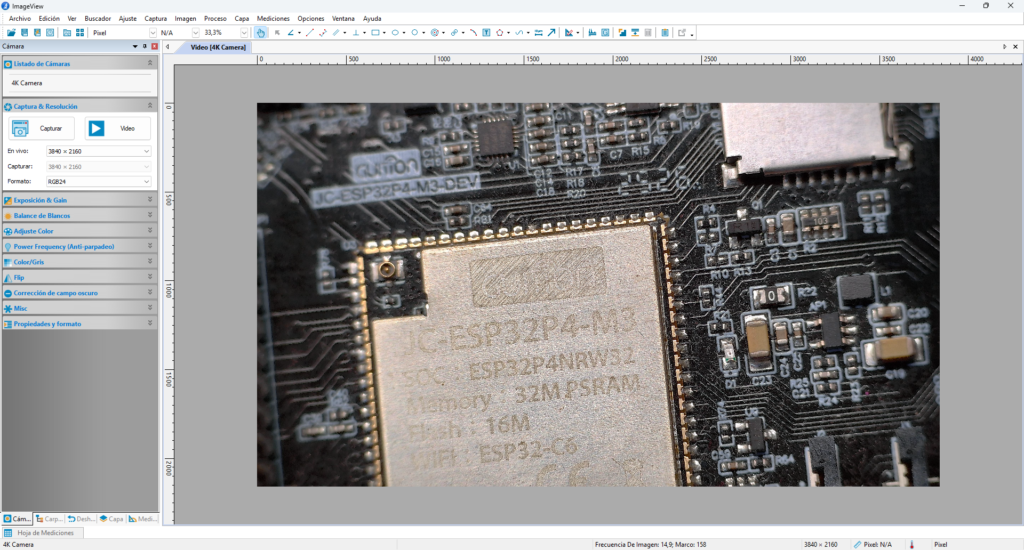
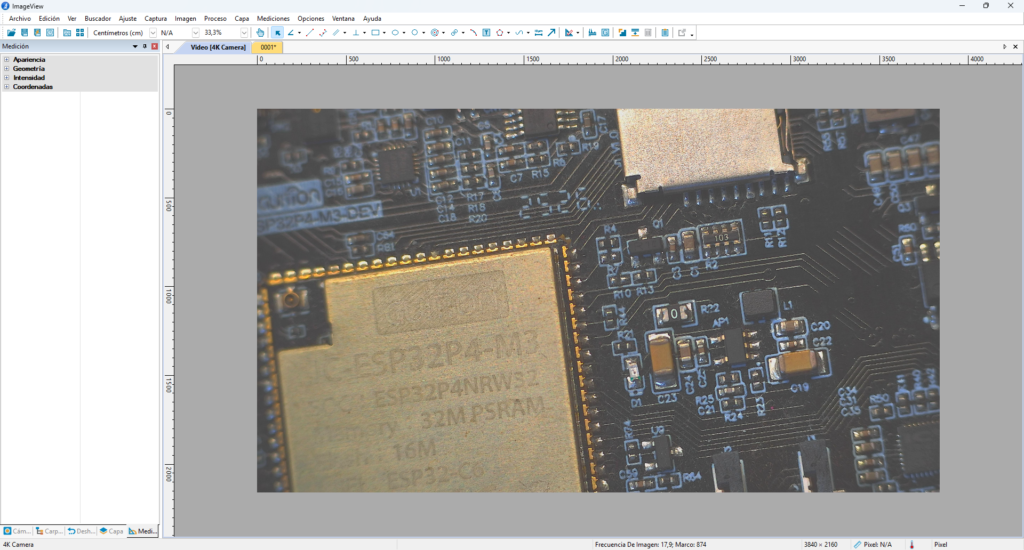
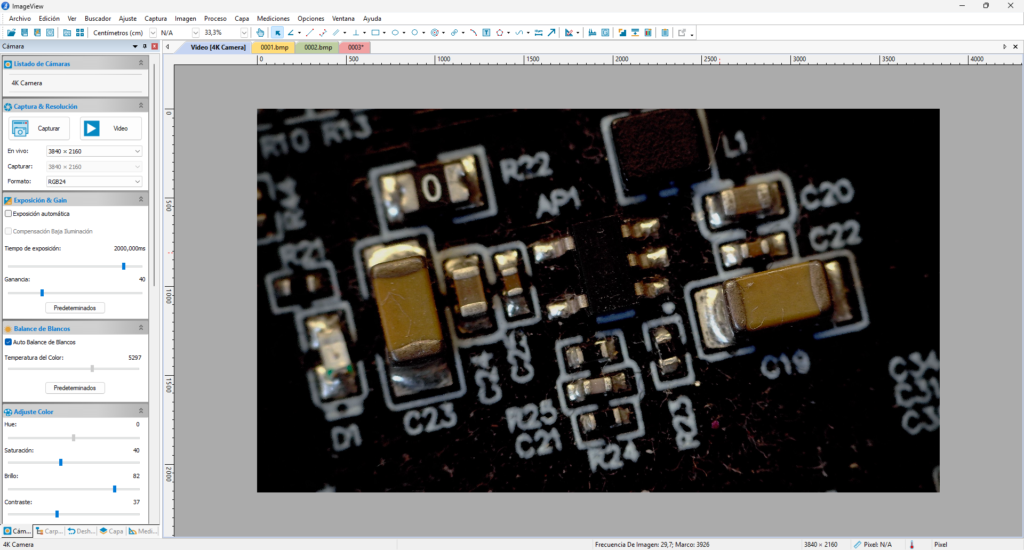
Image Quality
For these images, I am using an ESP32-P4 evaluation board. I think it is a useful board for this test because we can easily know the size of the microcontroller, and it has 0603, 0402 and 0201 resistors and capacitors soldered on it.
This allows us to quickly see how they look when using the microscope with the 150X lens.
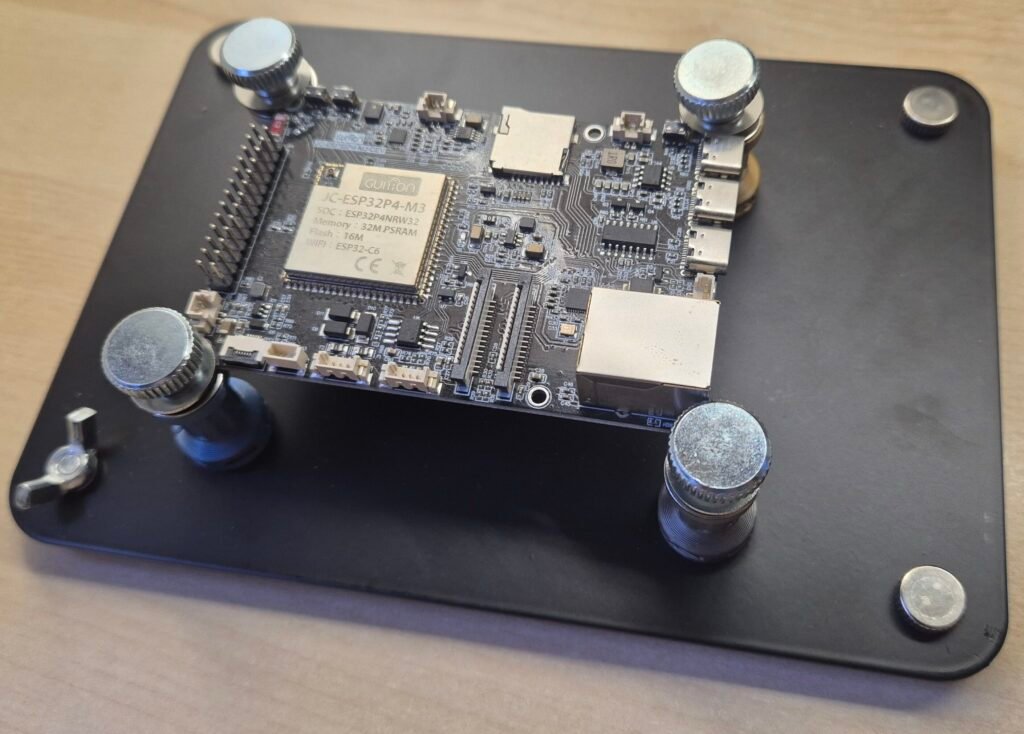
To keep the board fixed, I used the following holder. It is very useful for soldering because it keeps the PCB completely fixed and in a comfortable position. It is also quite inexpensive.
I am adding the link in case you are interested in buying it.
Remember that the microscope requires manual focusing with the lens. This is done by rotating the lens until the correct focus is achieved.
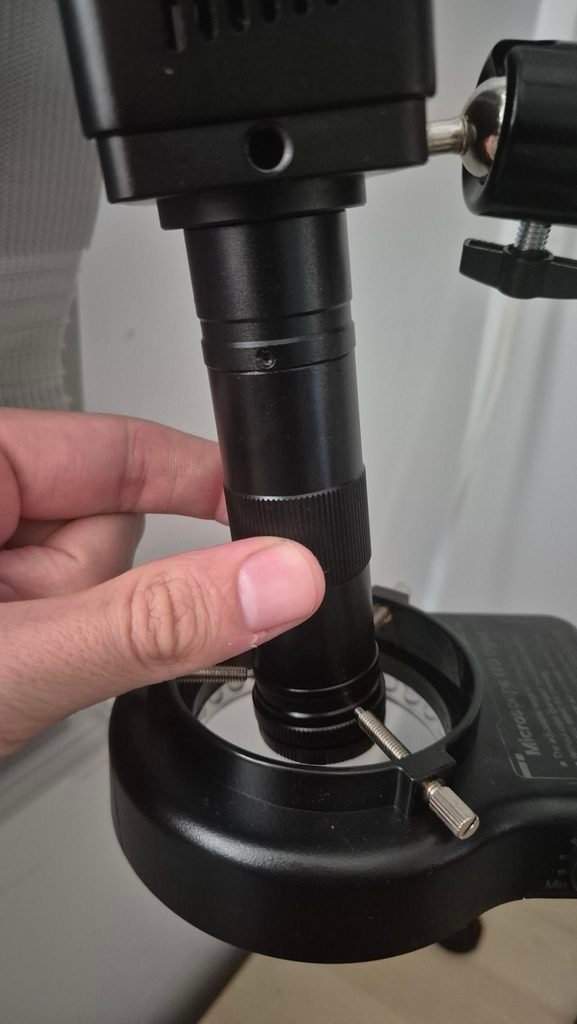
Below, I have included several sets of images so you can see the image quality for yourselves. All the images/videos were taken using the HDMI connection mode.
Comparing digital zoom
Digital zoom goes up to 4X. Up to 2X it’s fine, after that it’s just a blurry crop, so I’d rather get closer than zoom in.
Soldering iron and working space
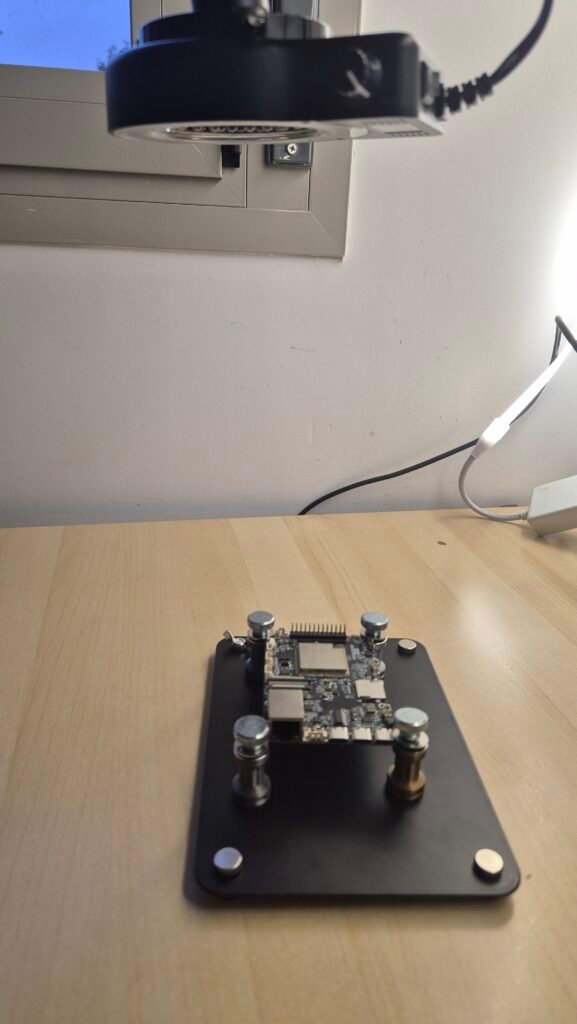
Focusing is manual: you turn the lens until the image is sharp. With the 150X lens, the working distance is about ~30 cm.
Parameters configuration
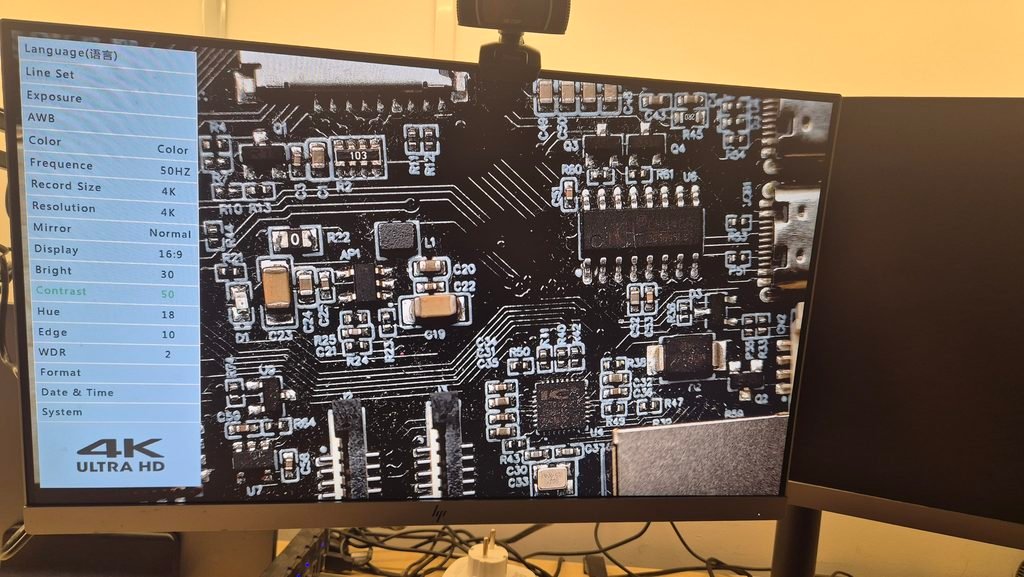
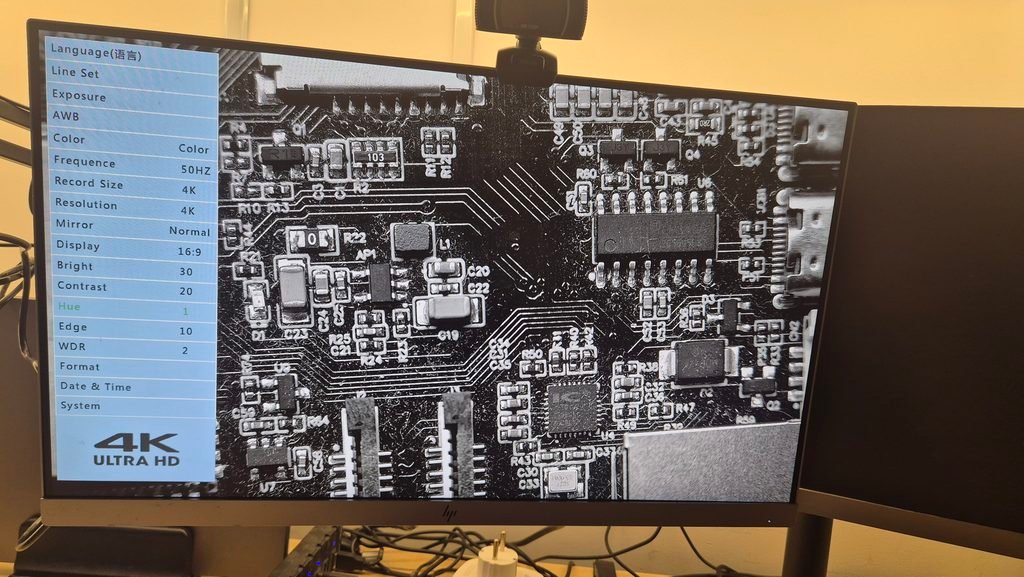
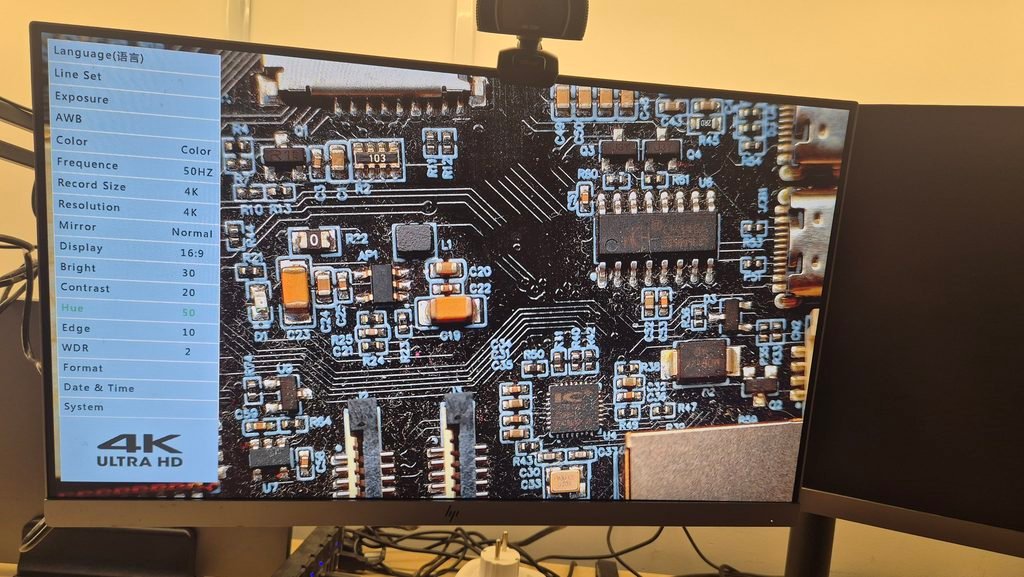
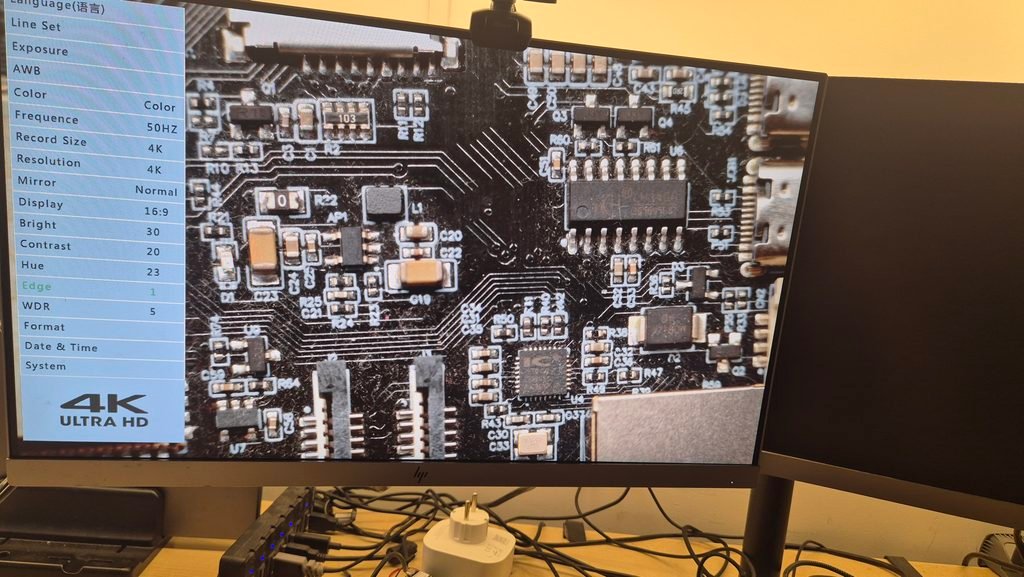
The camera lets you adjust a few image parameters. To make the difference obvious, I took one photo with each parameter at its minimum and another at its maximum.
- Contrast: the difference between dark and bright areas.
- Hue: shifts the colors of the whole image.
- Edge: sharpens the edges of what you’re looking at
These are extreme values on purpose. In normal use you’ll want something in the middle.
Conclusions
I am very happy with this new piece of equipment after one month of use. It has met my expectations, and I think it is going to become an essential tool in my lab.
In my case, I do not need to use it every day, but it is always useful when I want to solder components onto my PCBs or carry out inspections. It is also very useful for taking photographs for my equipment reviews, thanks to its high-quality camera and the very useful stand.
For the best image quality, I recommend connecting it via HDMI. The USB Type-C connection to a laptop is also useful, but I have noticed that the image quality is slightly worse.
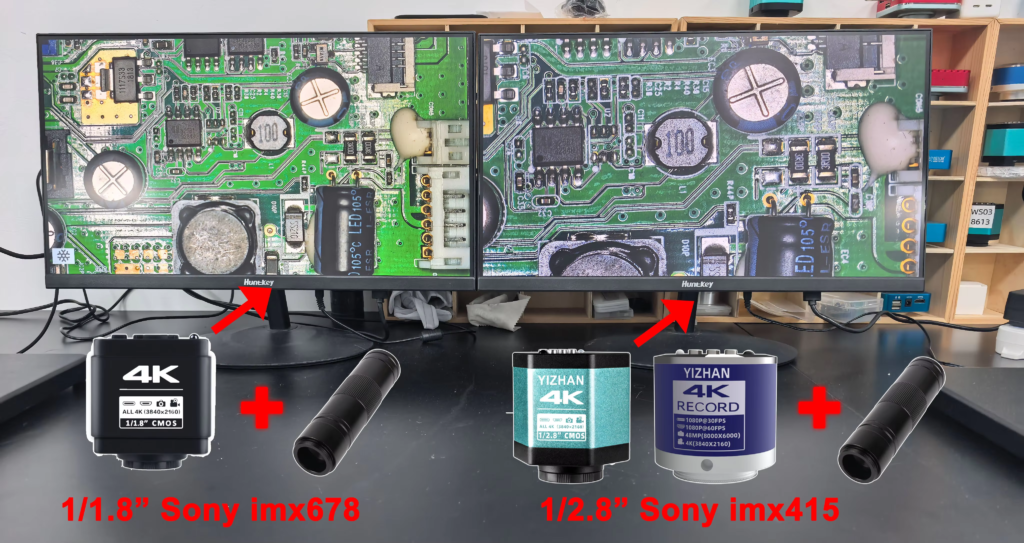
Finally, I am going to leave you with a comparison from the manufacturer showing the Sony IMX678 vs. Sony IMX415 sensors, so you can compare the image quality of both if you are not sure about which to buy.