
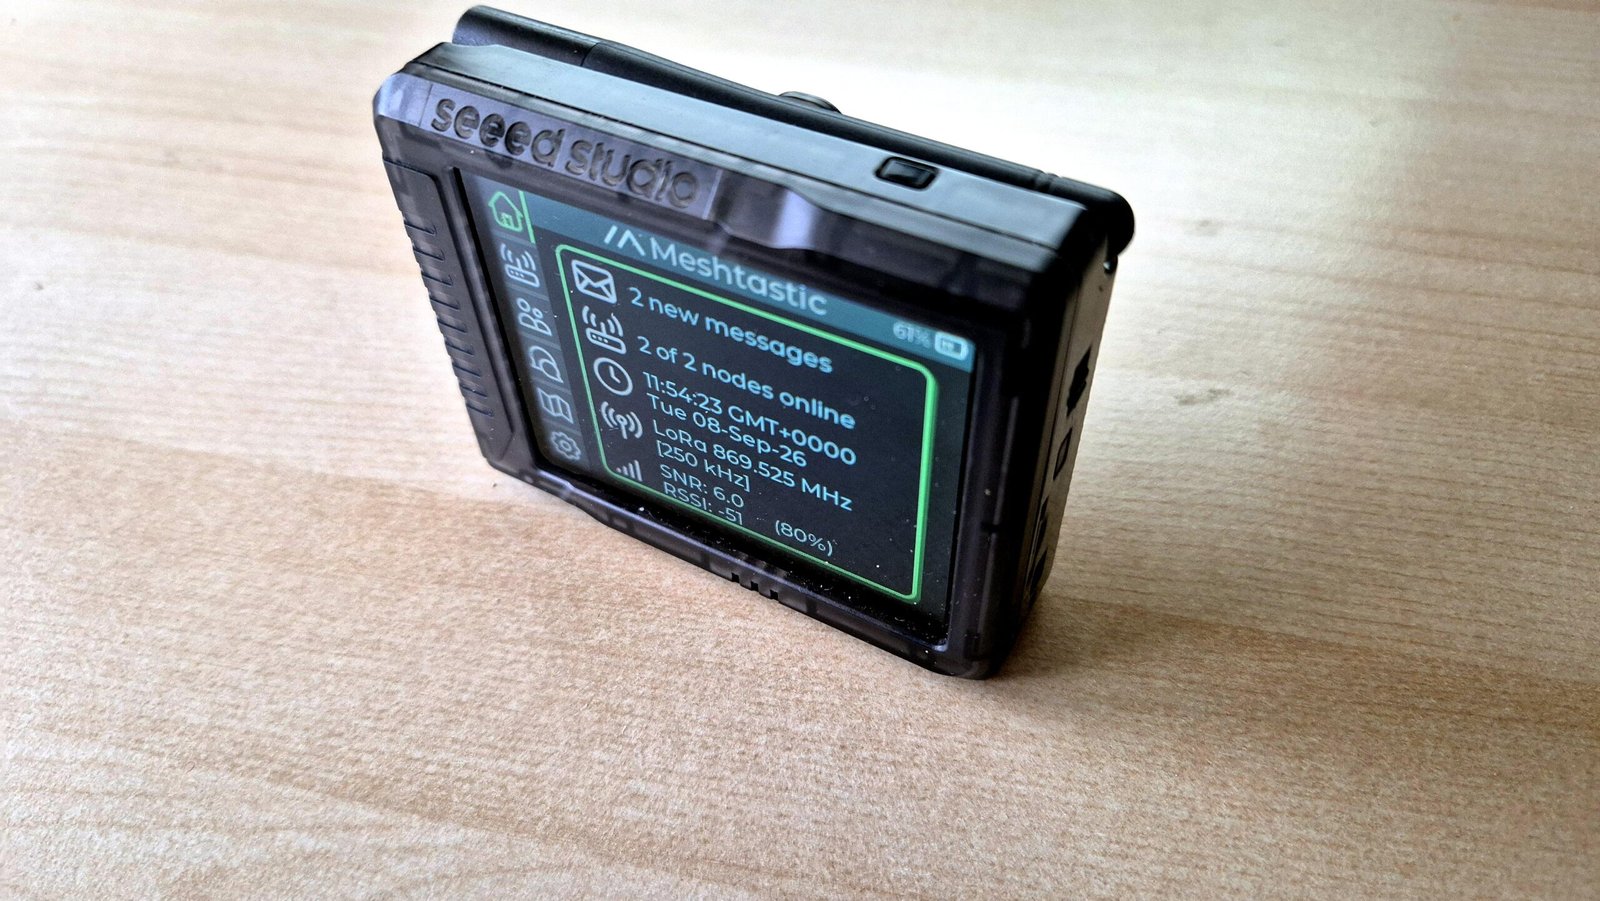
I had the chance to test the Wio Tracker L2 Pro before it hits the market, and here’s everything I noted down during these days of testing. Quick summary: overall it left me with a good impression. It had a few bugs (normal for a beta tester), and most of them got fixed shortly after I reported them.
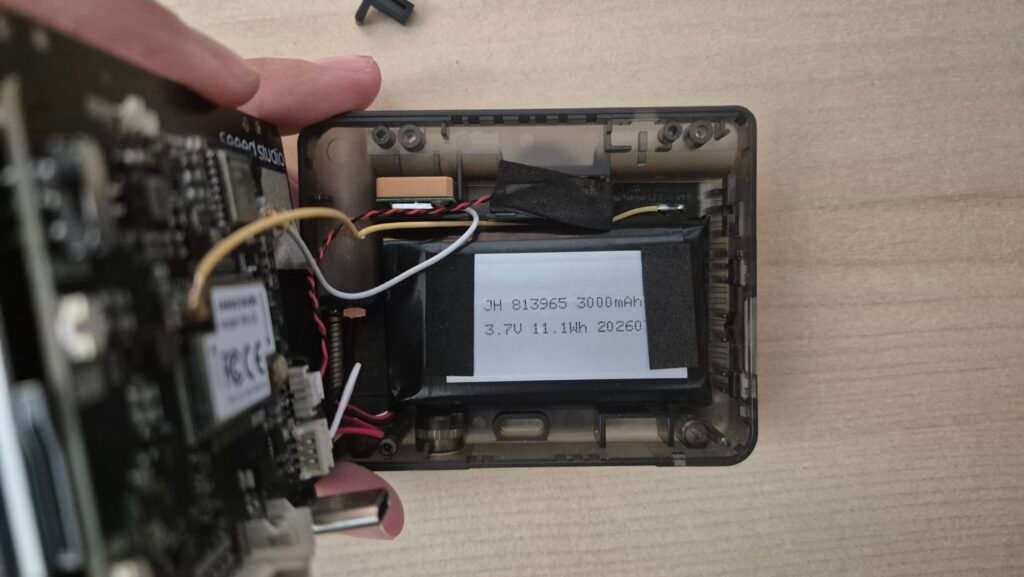
As a beta tester, please note that this was evaluated using a pre-production unit, so the photos of the device body (casing) do not represent the final hardware design; furthermore, the final production version includes both a built-in speaker and microphone.
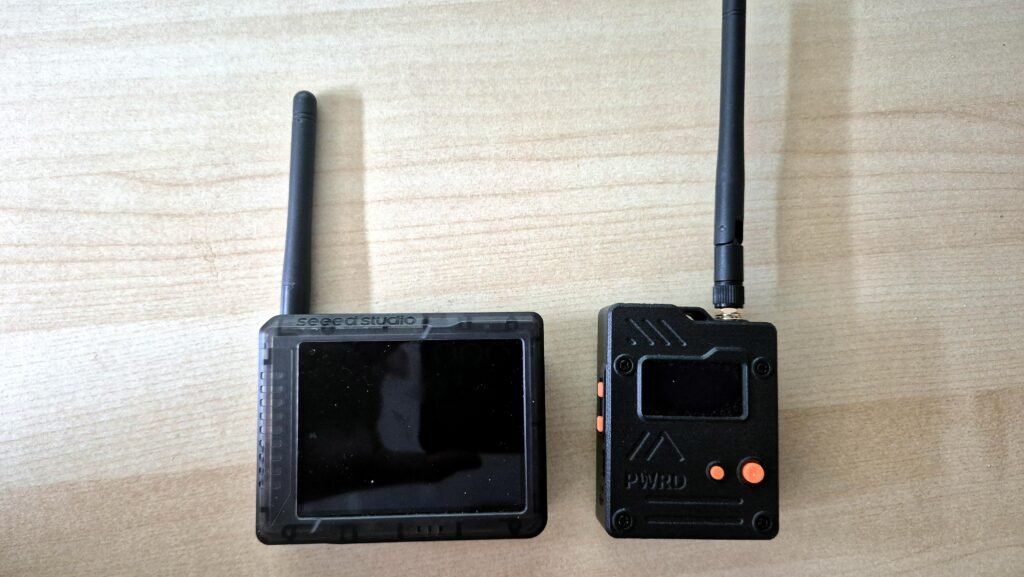
As a beta tester, please note that this was evaluated using a pre-production unit, so the photos of the device body (casing) do not represent the final hardware design; furthermore, the final production version includes both a built-in speaker and microphone.
Specs
Here are the main specs.
- Main chip: Wio-S3, combining an ESP32-S3 with an SX1262 radio module.
- Connectivity: LoRa, Bluetooth and WiFi
- GPS with ceramic antenna
- Screen: 3.2″, 240×320
- Battery: 3000mAh, with a connector for an external solar panel
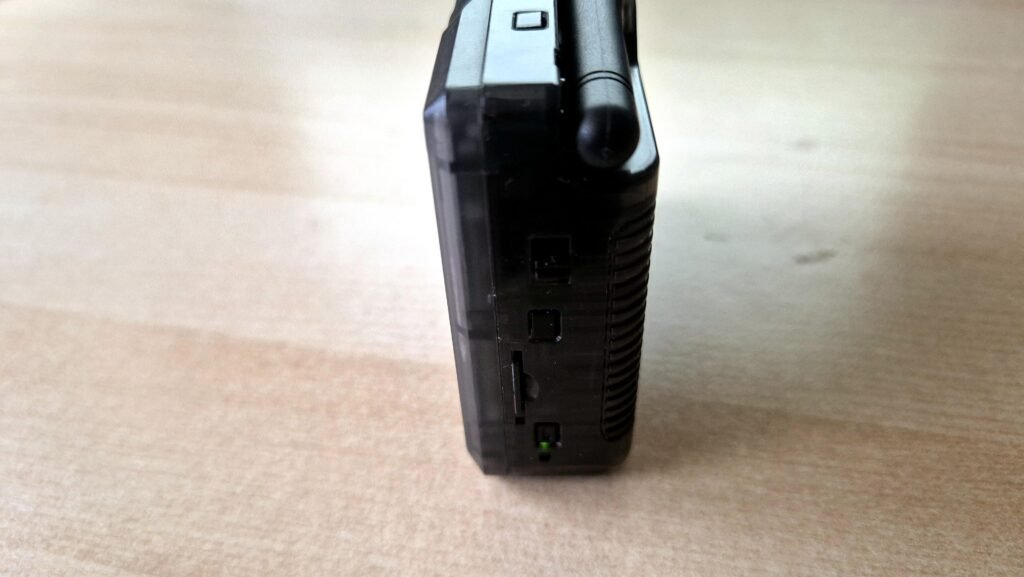
- Interfaces: Grove, microSD slot and USB-C
- Audio: built-in speaker
- Buttons: 4 in total. A slide switch for power on/off, a user/boot button, a reset button and a wake-up button to turn the screen back on without powering off the device
- LEDs: 2. One shows mesh network activity, the other shows whether the device is powered on
- Dimensions: 87 x 26 x 70 mm
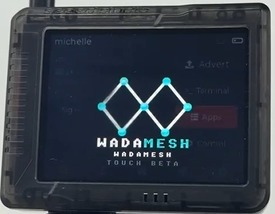
It ships by default with the MeshtasticUI firmware, which is already familiar from other Meshtastic devices. It ships by default with the MeshtasticUI firmware, which is already familiar from other Meshtastic devices. It can also run WadaMesh.
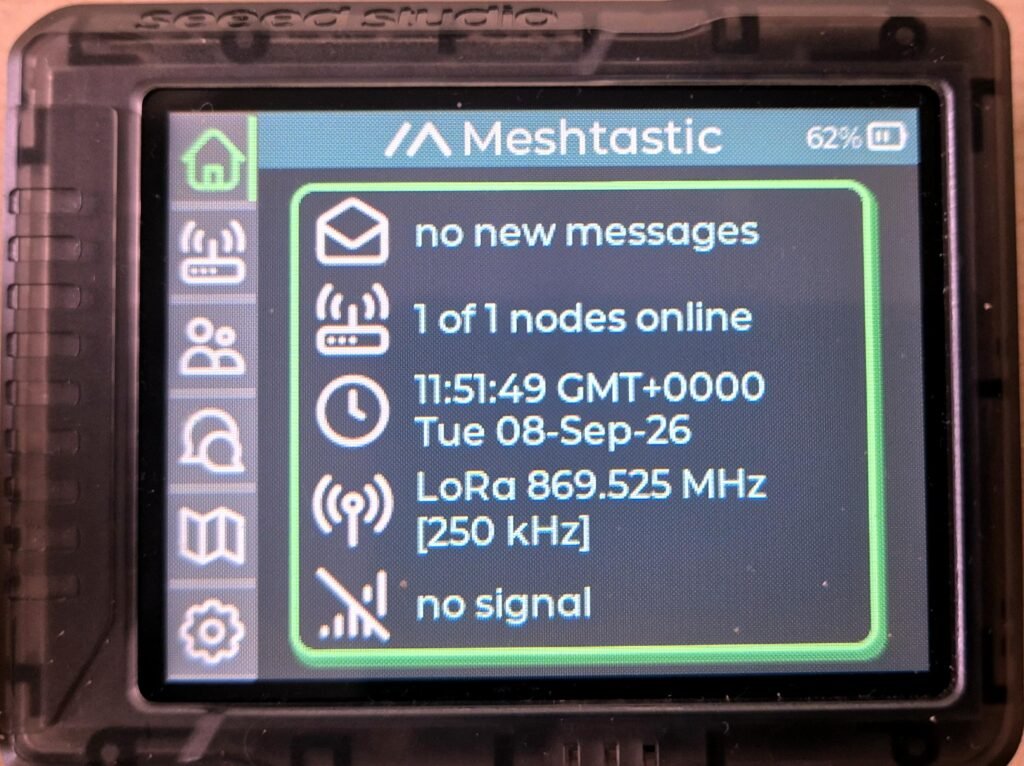
All my testing was done on EU_868 with the LONG_FAST preset, and on a firmware version that isn’t final yet (I already know the bugs I ran into are being worked on), so they’ll likely be sorted out by the time it launches.
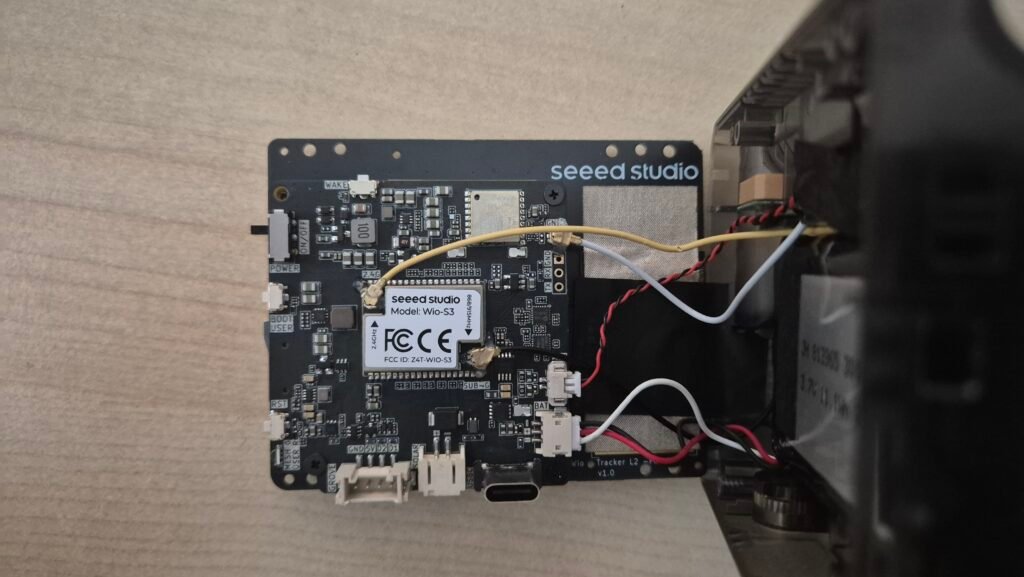
Wio Tracker 2 – Inside (i)
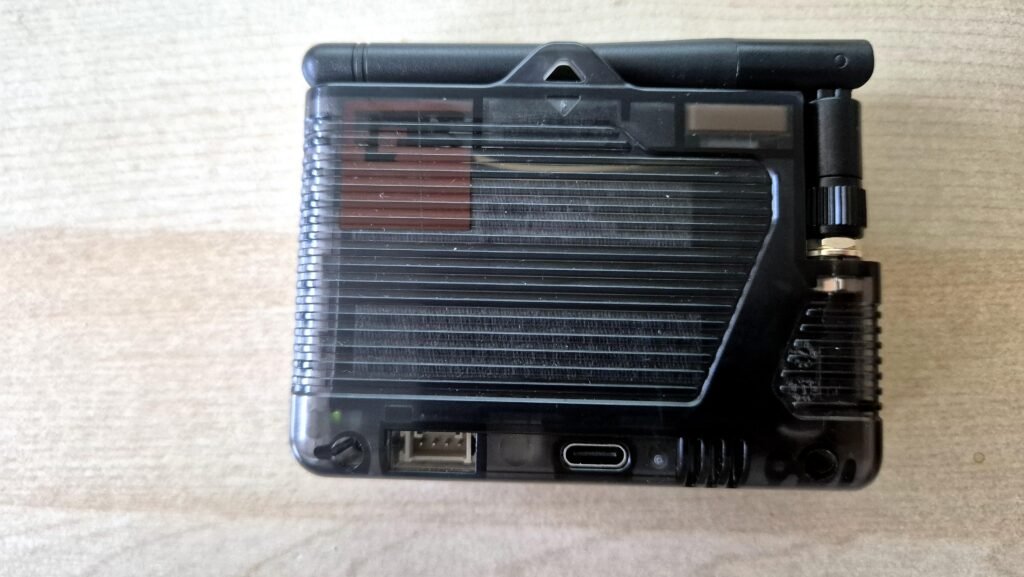
First impressions
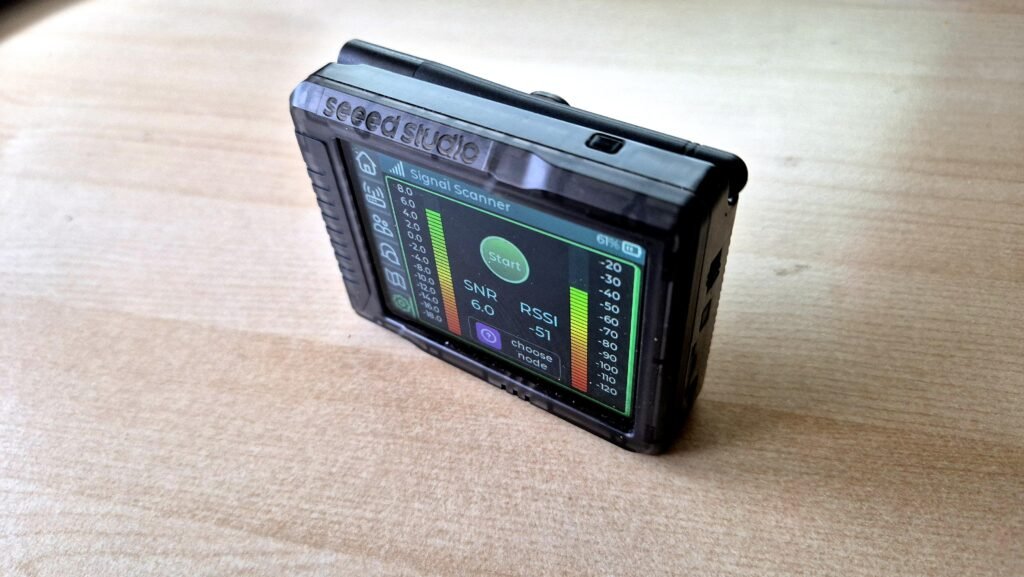
The build quality is very solid. Everything fits together well and feels premium right out of the box. One detail I really liked: the antenna tucks away when you fold it to 90 degrees, which helps a lot in keeping the device from looking bulky.
The form factor is one of its strongest points. It basically takes up as much space as the screen itself, without extra bulk added around it. It’s light and comfortable to carry.
The USB-C port sits on the back, so you can keep using it while it charges without the cable getting in the way. On top of that, the device works completely normally while plugged in, so you don’t have to set it aside and wait for it to charge.
Best of all, in my opinion: you don’t need your phone for anything. The device runs fully standalone through its own interface. You can configure the network, check messages, and even run tests against specific nodes.
The menus
This is basically a walkthrough of the MeshtasticUI firmware. The interface is organized into several menus:
- Device status (received messages, uptime, configuration, GPS, SD)
- Configured nodes
- Channel groups
- Active chats
- Map position
- Mesh network settings, WiFi settings, and tools
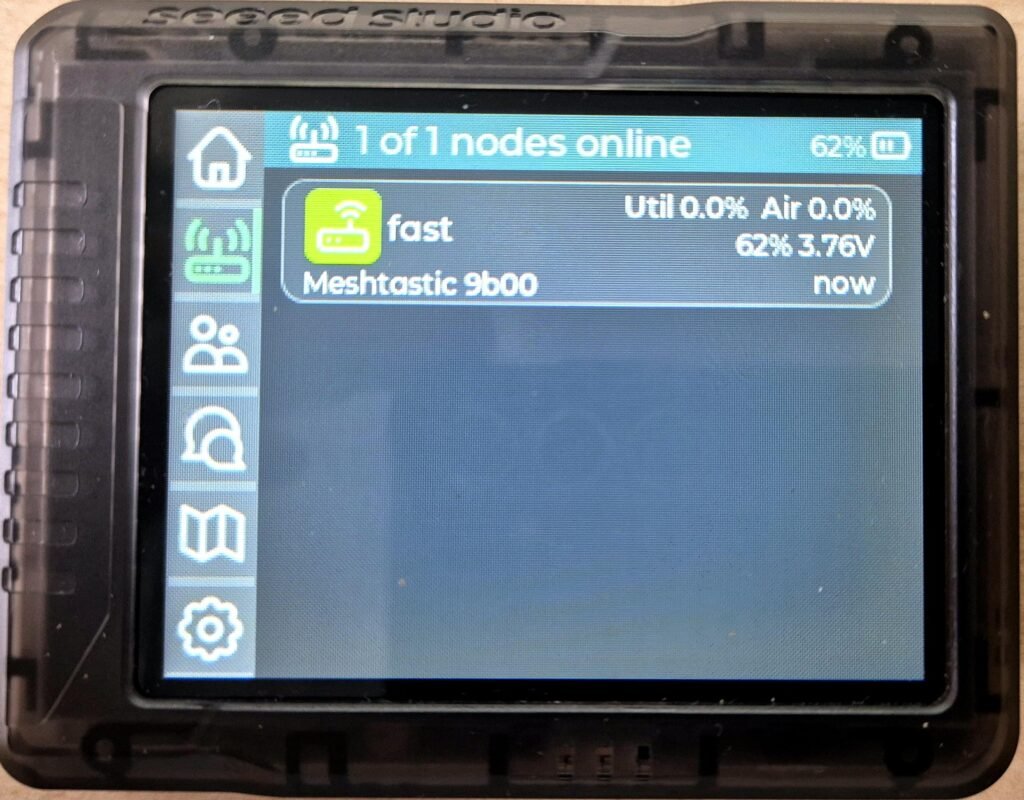
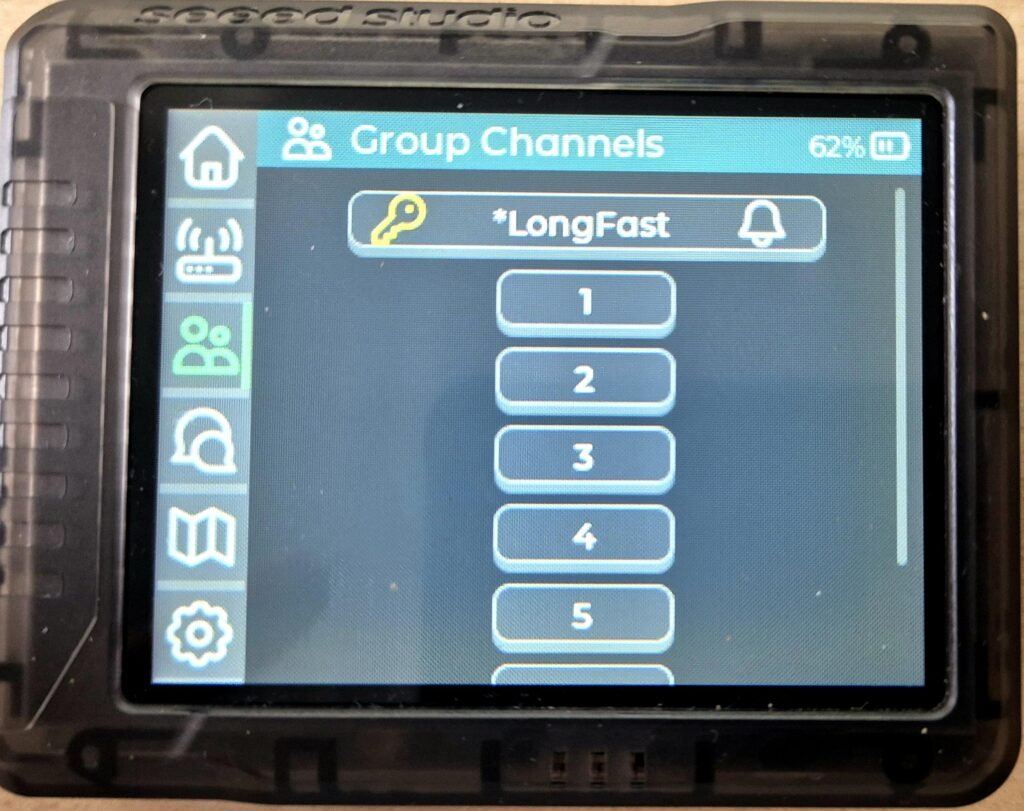
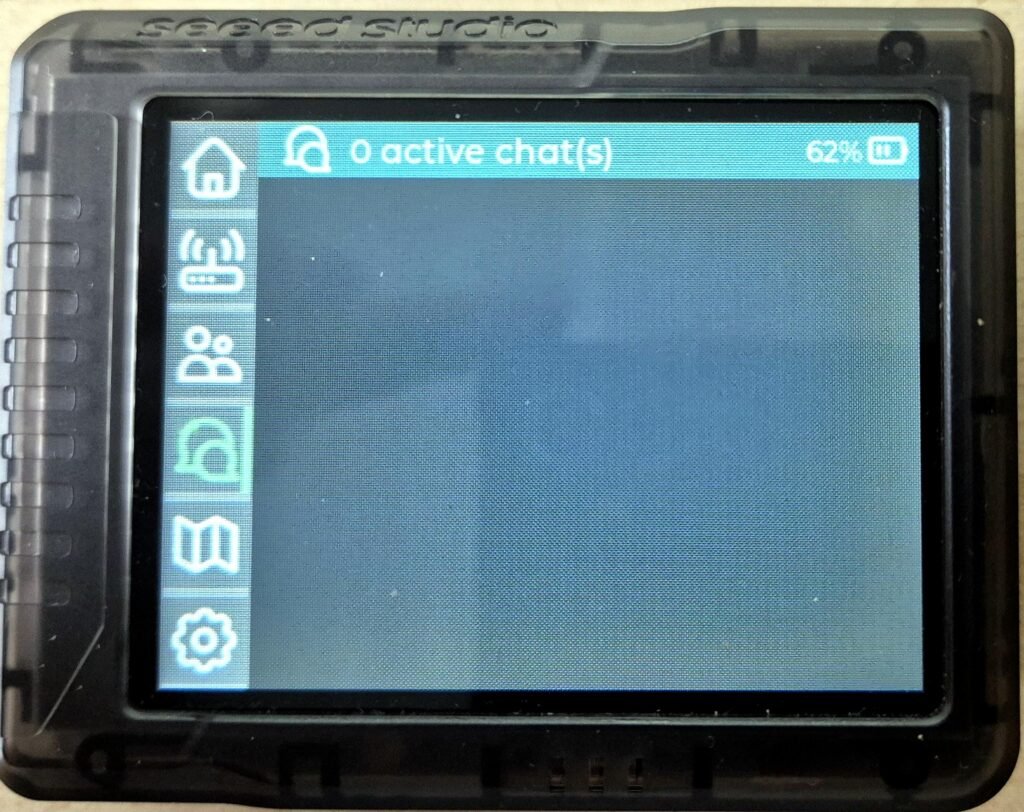
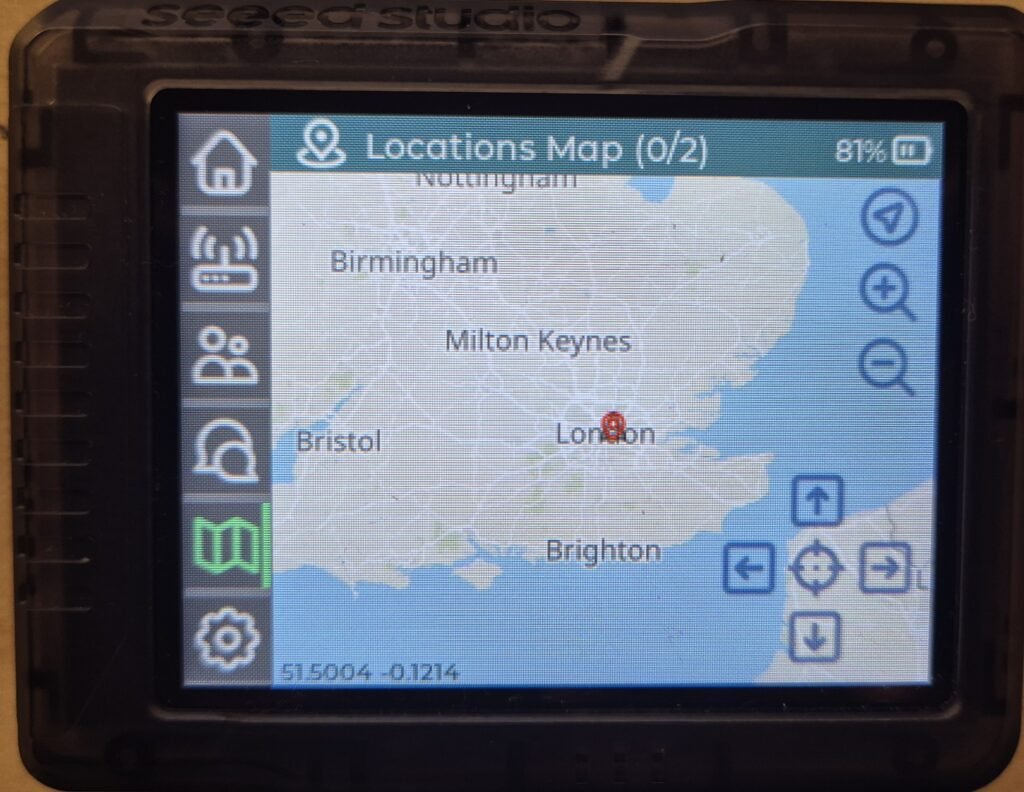
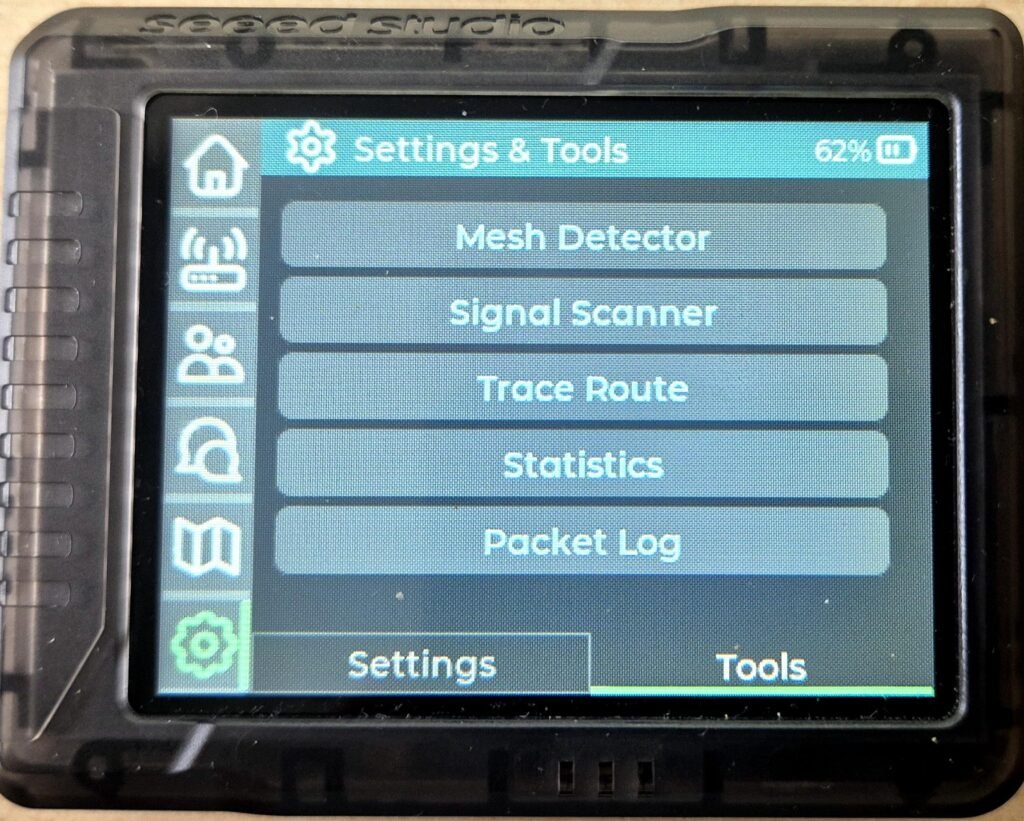
Menu 6 is my favorite, since it includes tools like Mesh Detector, Signal Tracer, Trace Route, statistics, and a packet log. For anyone who wants to dig deep into mesh network diagnostics, it’s very useful.
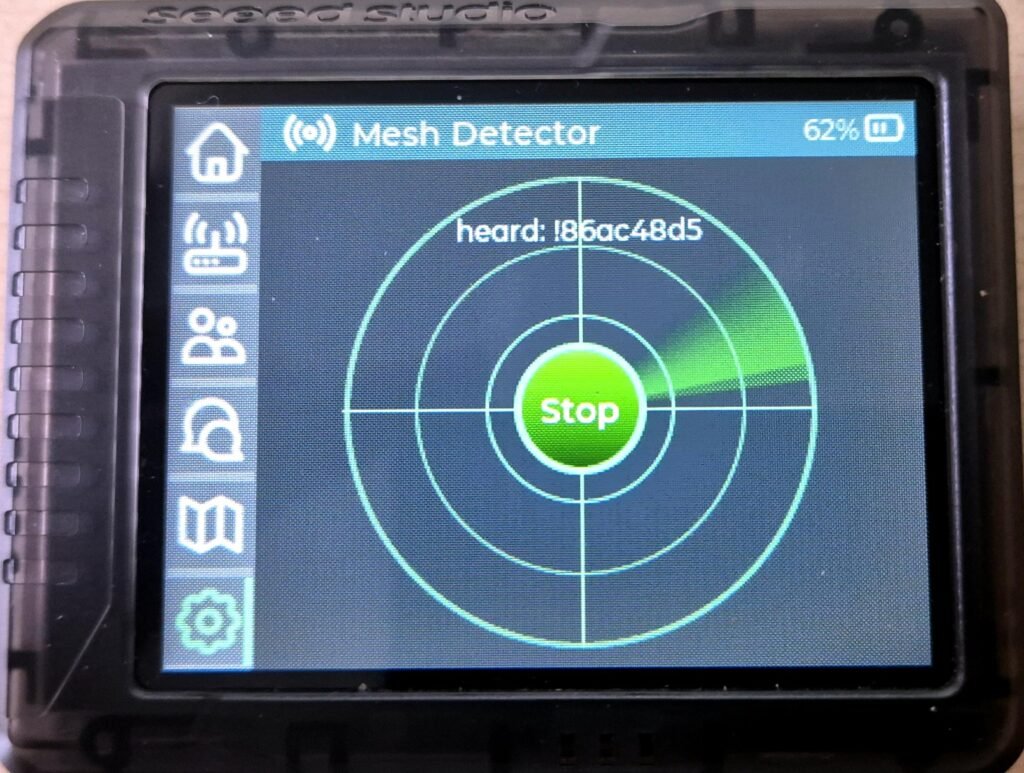
Wio Tracker 2 – Mesh Detector
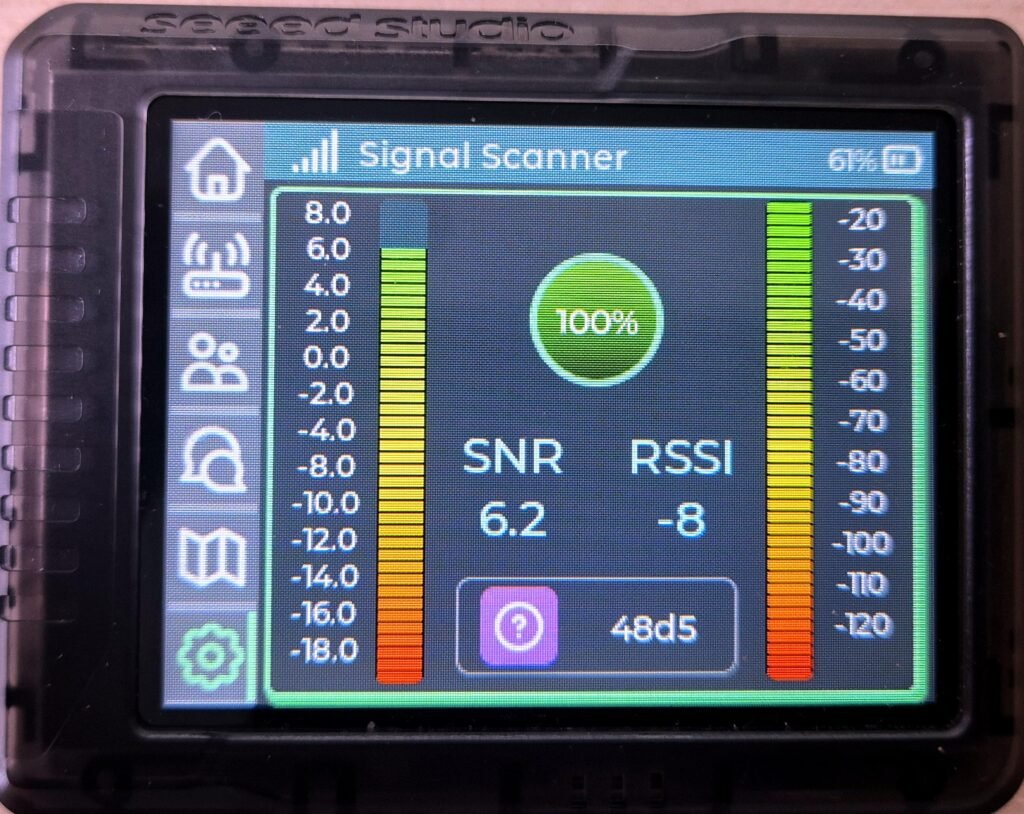
How each feature performed
Touchscreen: works well, response is fast, and it’s readable outdoors without any issue. Below is a photo showing how it holds up in direct sunlight.
Meshtastic communication: no issues at all. I was able to transmit and receive with a node, and intercept messages on the network.
GNSS: gets a fix outdoors within a reasonable time (almost 1 minute in open field).
Offline maps: I downloaded them and they worked well both over WiFi and by copying them to the SD card. I’ll be dedicating a separate post to walking through how to set up offline maps step by step, so stay tuned.
There’s also the option to serve maps over WiFi without having them stored on the device. It’s not something I’d recommend: aside from being unnecessary if you can just put them on the SD card, the moment you lose WiFi you stop seeing them, and battery consumption goes up from keeping that connection active.
Battery: I ran the test with the screen off, since that’s the state it stays in most of the time when you’re not interacting with it. During the test the device stayed powered on and connected to the Meshtastic network the whole time. Under those conditions it got roughly 28 hours of battery life.
What I’m missing
A couple of things that would improve the experience quite a bit:
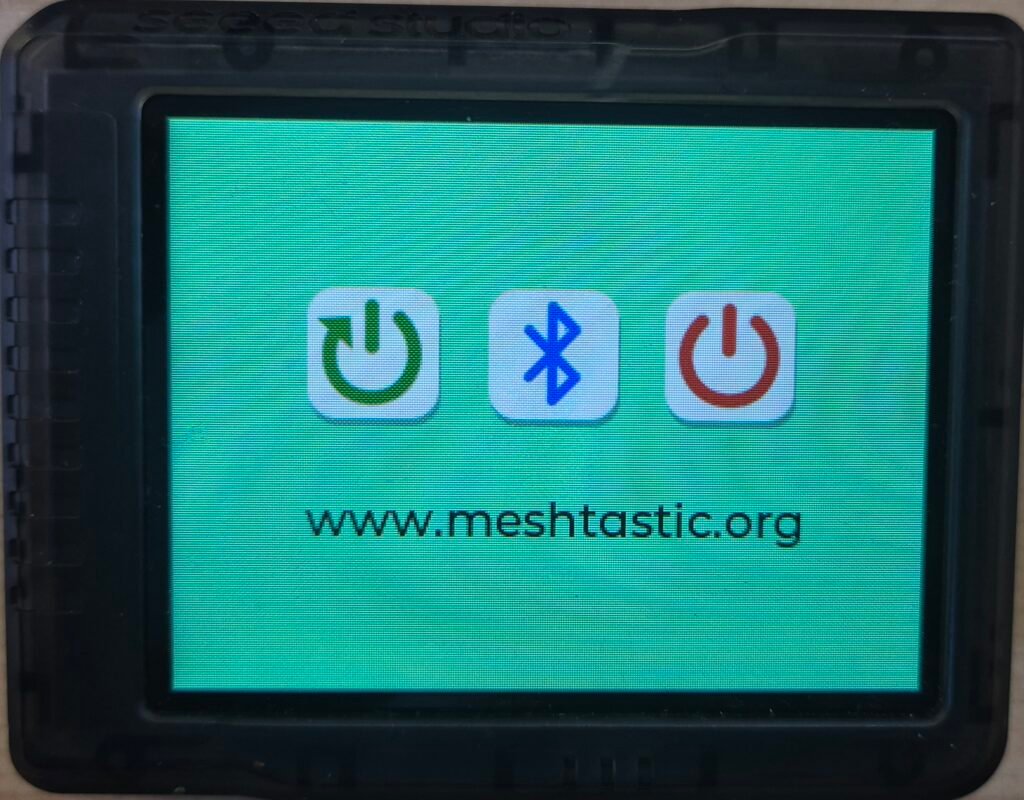
- Bluetooth configuration from the phone: it’s not very intuitive how to do it. This ultimately comes down to the MeshtasticUI firmware, and even though connecting to a phone isn’t required, I think it would be useful, especially for exporting already saved channels, even though normal use doesn’t require having Bluetooth on (due to power consumption, among other things).
- If you are looking to configure it via Bluetooth, go to the Settings window and click on Reboot/Shutdown. There you will see the screen options to restart, power off, or configure via Bluetooth.
- To exit the programming mode screen, press and hold the screen for a few seconds.
- A physical button to cancel or go back: for example, in Settings, Channel, being able to use the screen lock button or the user/boot button to exit instead of having to scroll all the way down.
Who is this device for?
The Wio Tracker L2 Pro is especially built for people who want to use Meshtastic in a standalone way, without constantly relying on a smartphone. With GPS, offline maps, and diagnostic tools on board, it’s genuinely useful for hikes, coverage tests, or simply for anyone who wants a portable Meshtastic node with its own interface.
If you’re just looking for a small, cheap node you can control from your phone, there are probably simpler and more affordable options out there.
Conclusion
The Wio Tracker L2 Pro has a very solid hardware foundation and a form factor that suits a Meshtastic device perfectly. The network toolset (Mesh Detector, Signal Tracer, Trace Route…) is a nice extra if you enjoy tinkering with the mesh.
As for pricing, it’s not confirmed yet. I’ll update this post as soon as I know.
If you have any questions about the device, drop them in the comments. And don’t miss the next post, where I’ll walk through how to set up offline maps in MeshtasticUI step by step.