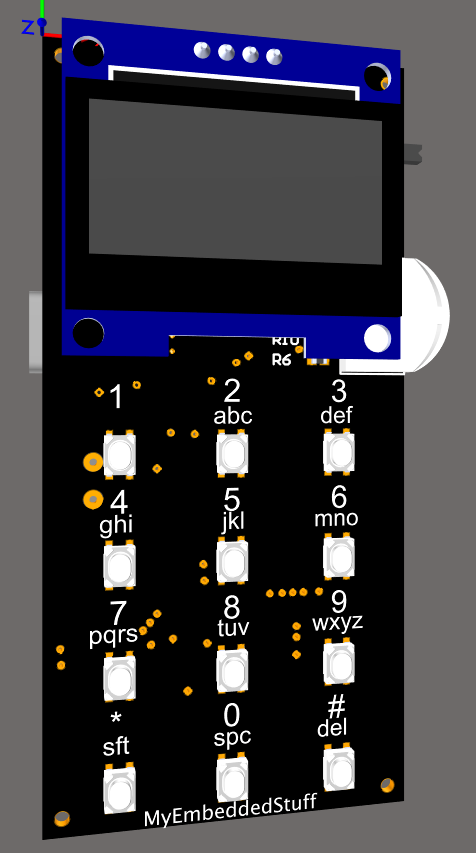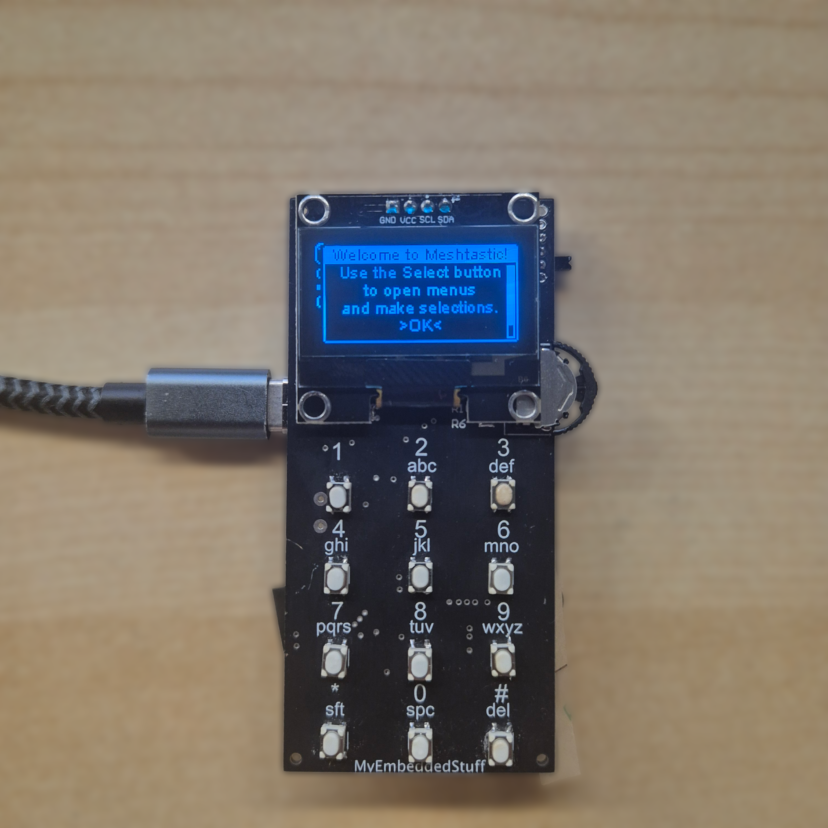
Meshtastic Build-Off 2026 – Meshtastic firmware implementation

This post belongs to the series of posts about the Meshtastic BuildOff 2026. The previous posts are:https://myembeddedstuff.com/meshtastic-build-off-2026-retromeshdevicehttps://myembeddedstuff.com/meshtastic-build-off-2026-pcb-assemblyhttps://myembeddedstuff.com/meshtastic-build-off-2026-hardware-bring-upThe final remaining step for my device was to compile the Meshtastic firmware for my board.Official repo: https://github.com/myembeddedstuff/RetroMeshDevice Meshtastic implementation Before starting with the integration of my device into the Meshtastic firmware, it is worth taking a moment to understand how it is structured. In case there were any doubts, it is important to highlight that this is an open-source project fully written with all the Mesh communication protocol logic already implemented, along with many functional modules. Therefore, our main job is simply to define our hardware guidelines and pinout connections.Additionally, if a specific module is not available, it must be implemented following Meshtastic's framework to maintain…
0 Comments

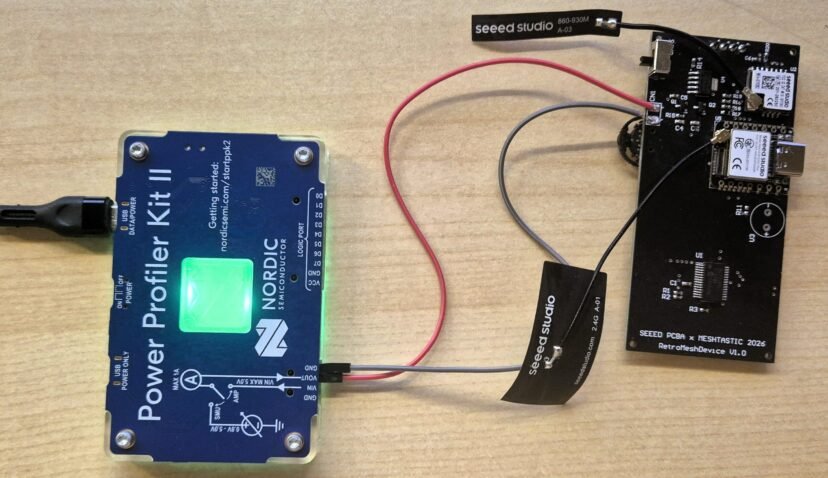
Meshtastic Build-Off 2026: Hardware Bring-up and Initial Validation

This post belongs to the series of posts about the Meshtastic Build Off 2026. The previous posts are:https://myembeddedstuff.com/meshtastic-build-off-2026-retromeshdevicehttps://myembeddedstuff.com/meshtastic-build-off-2026-pcb-assemblyOnce I had the PCB assembled, the next step was to verify that everything was actually working as expected.At this stage, I did not want to jump straight into the Meshtastic integration. Even though that was the ultimate goal of the project, it seemed more intelligent to validate the hardware in isolation first. When you are booting a board for the first time, separating hardware and firmware issues usually saves a lot of headaches.I am going to split this post into two sections. First, why I consider it necessary to create a simple firmware to validate the board and how to do it. Second, an analysis…

0 Comments

Meshtastic Build-Off 2026: PCB Assembly

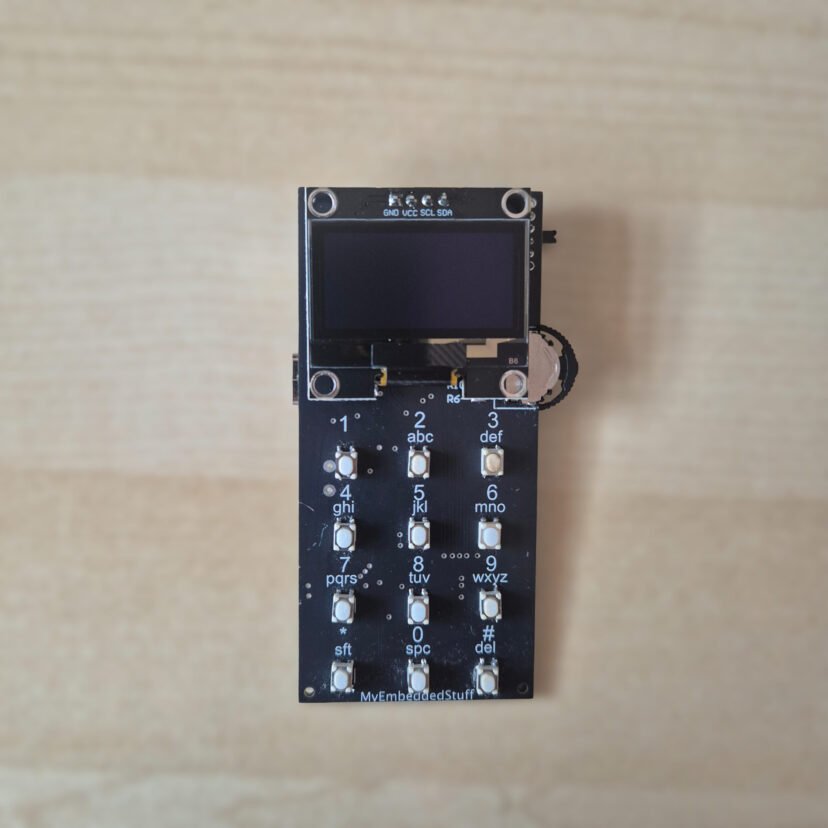
This post belongs to the series of posts about the Meshtastic Build Off 2026. The previous posts are:https://myembeddedstuff.com/meshtastic-build-off-2026-retromeshdeviceNote: If you like this content and project, please consider giving a like to the following GitHub issue where I discuss my latest progress. I am currently participating in the BuildOff, and your support would mean a lot! https://github.com/Seeed-Projects/meshtastic-build-off-2026/issues/10As a continuation of the project, I have already received the first version of my design. Since I did not order the boards preassembled, the next step was to assemble them myself. In this post, I want to explain what the board assembly process was like and the final result. Additionally, I will discuss some aspects that I have identified for improvement in future versions.First, I will explain…

5 Comments

Meshtastic Build-Off 2026: Designing the RetroMeshDevice PCB

As I announced to my newsletter subscribers, I knew I was going to be busier than usual participating in the Meshtastic Build-Off 2026 competition. Rather than leaving the blog without new posts in the meantime, and because I think this can be a genuinely interesting series, I decided to write about parts of this process so you can follow along with the development of a device from PCB to firmware integration. Though in this case, the firmware side will be a bit different from the usual, since the goal is to get my new hardware running with Meshtastic's existing firmware.The device I'm building is called the RetroMeshDevice. The idea was to build a companion node that is as minimal as possible and doesn't…

5 Comments