
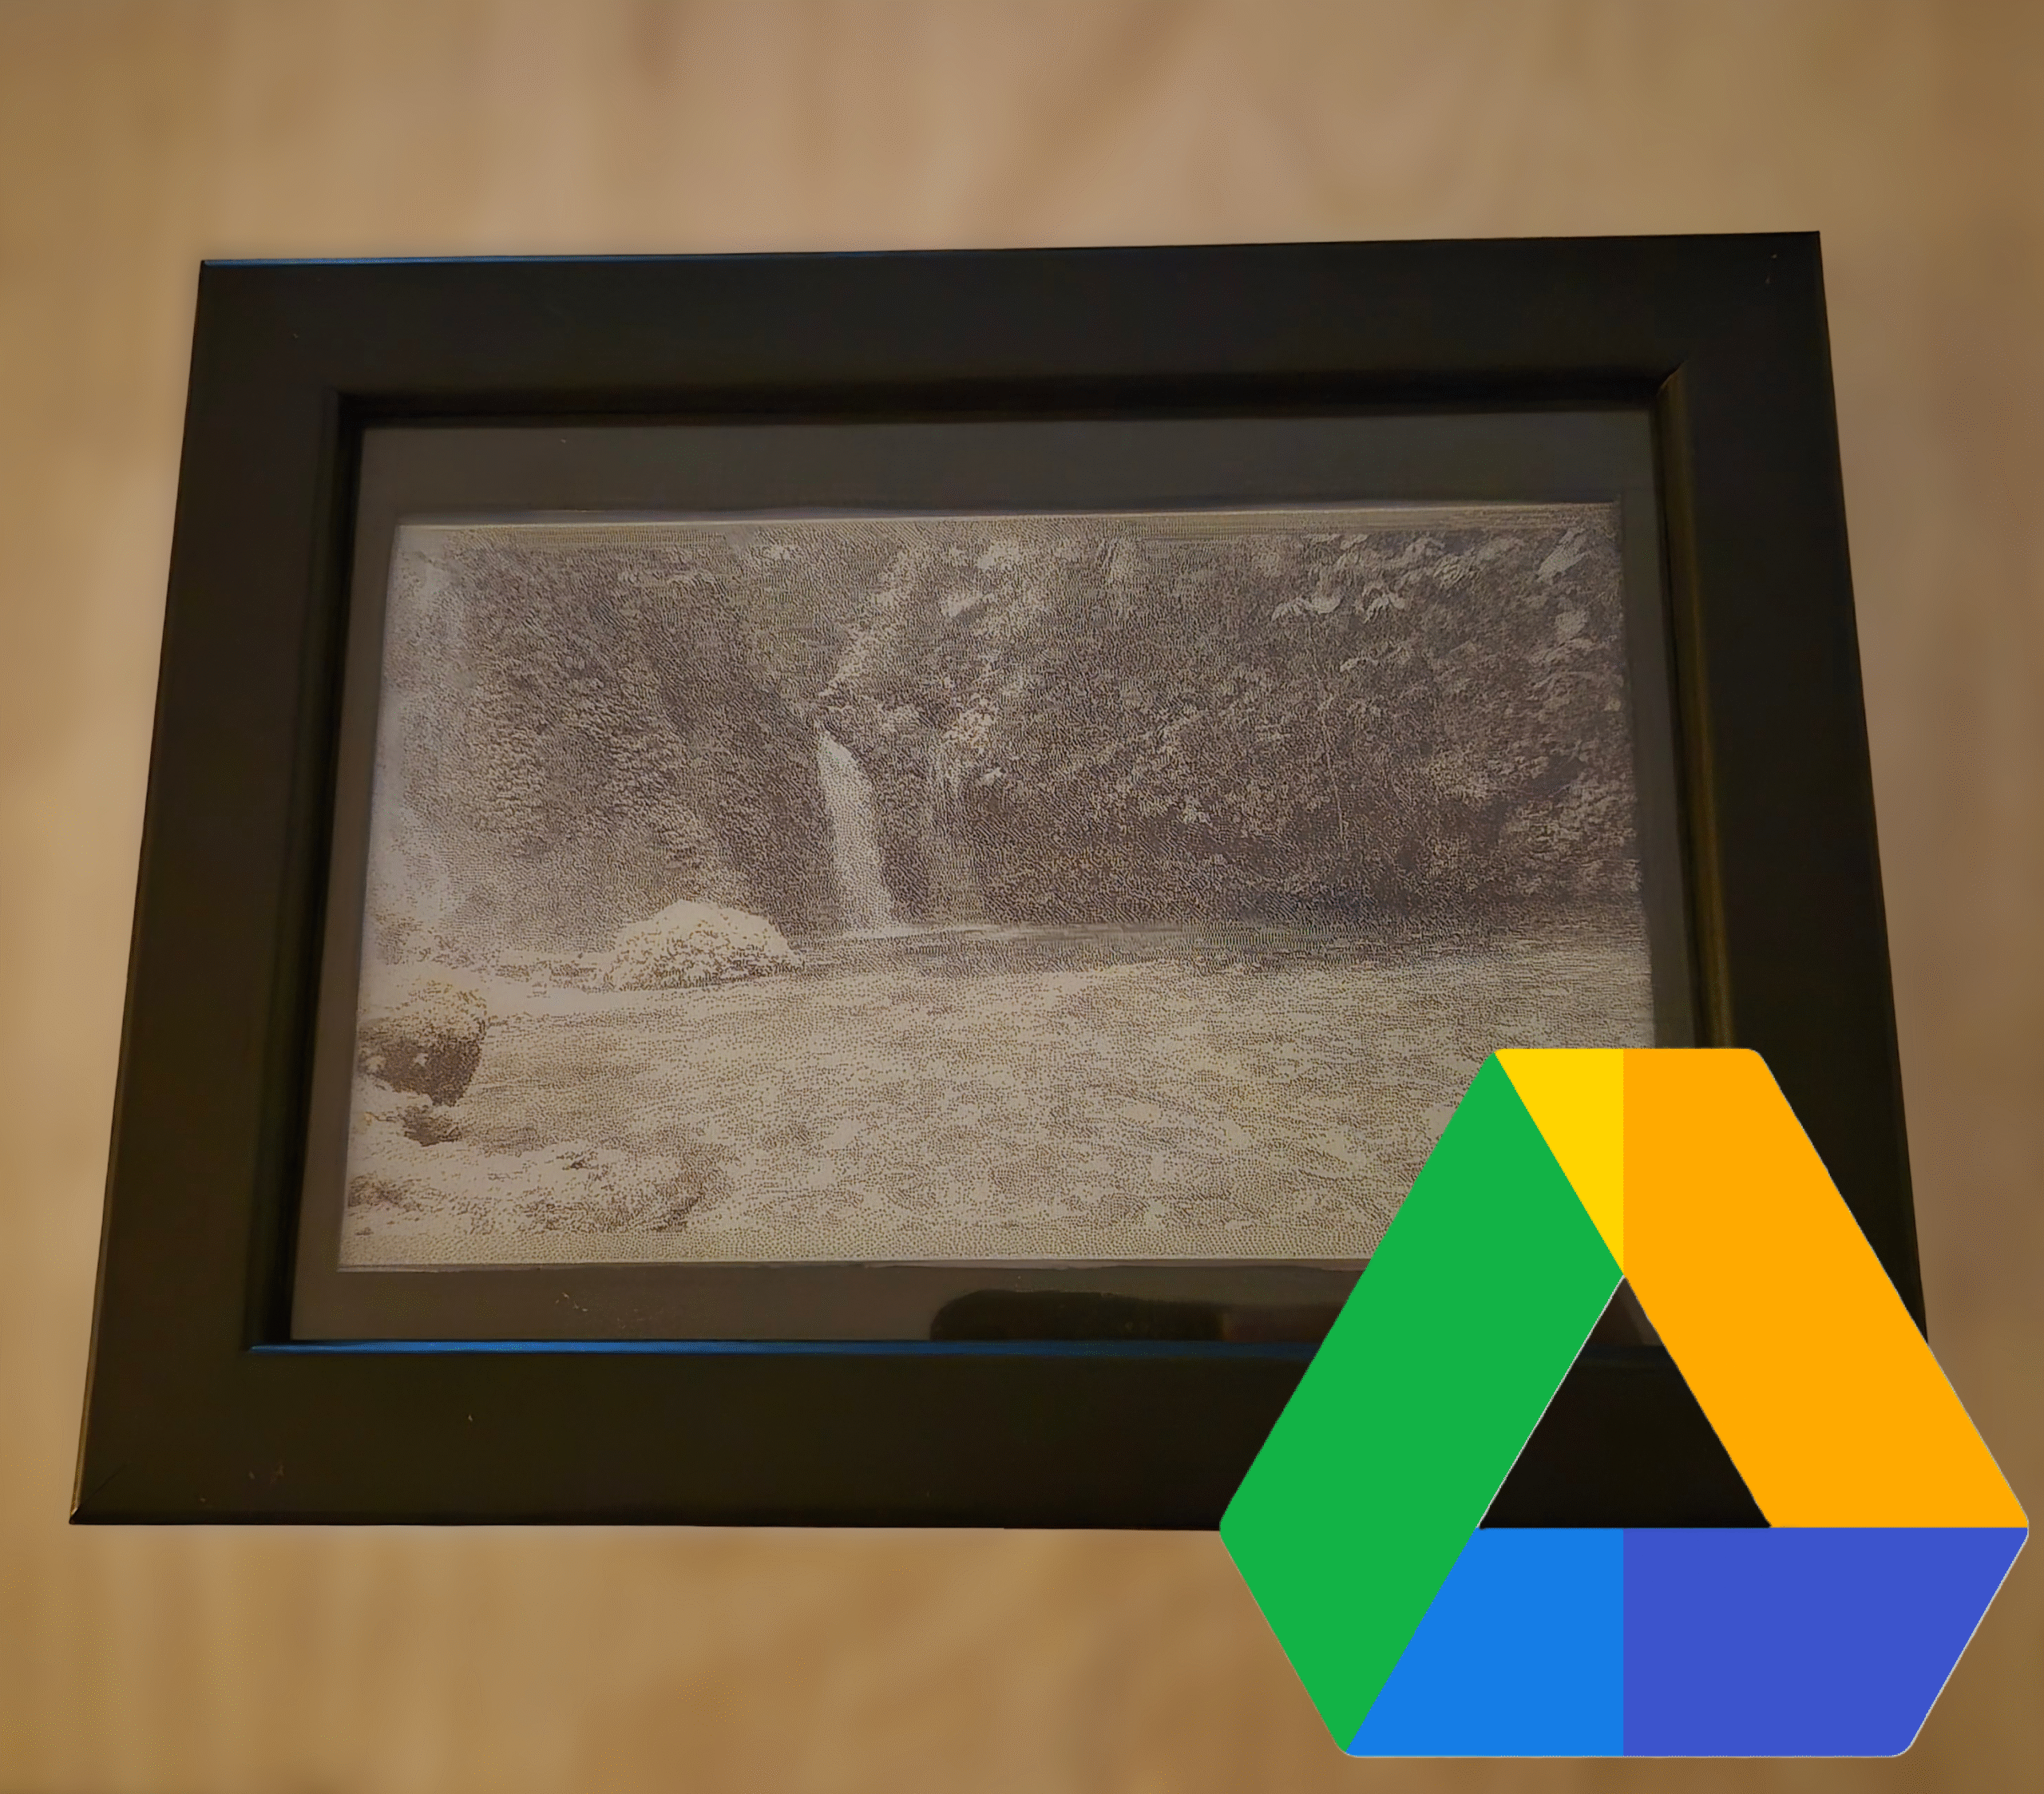
If you want to build your own e-Ink Photo Frame but want to forget about setting up local servers (Raspberry Pi, NAS, or Home Assistant) and don’t want to rely on SD cards, this project is for you.
The biggest hurdle when using e-Ink displays for photos is the infrastructure. Normally, you need a 24/7 dedicated server to process the images or pay for third-party services. Additionally, microcontrollers like the ESP32 face two critical constraints:
Processing: Running a dithering algorithm (to adapt a real photo to the screen’s limited color palette) is too heavy for an ESP32.
Memory: High-quality images consume too much RAM during HTTP requests, often leading to crashes or overflow errors.
To solve this, I decided to use Google Drive as a free server and implement Python pre-processing to offload as much work as possible from the ESP32.
Table of Contents
Toggle1. Hardware description
For this project, I used Seeed Studio e-Ink displays. The code is compatible with both the 7.3-inch and 13.3-inch kits.
7.3″ e-Paper: [Link to model]
13.3″ e-Paper: [Link to model]
If you want to learn more about these e-ink displays, I recommend checking out my recommended posts:
2. Image Processing
To prevent the ESP32 from struggling, I developed a Python script that pre-formats the photos, ensuring they are ready for immediate display without further processing

Smart Resize with Anti-Aliasing (Smart Blur)
Before resizing, I apply a slight blur. I’ve found that scaling a high-resolution image directly to e-Ink dimensions causes aliasing (jagged edges). The blur softens transitions and ensures a clean composition when downscaled.
Dithering and Compression
The script applies a dithering algorithm to simulate color depth within a limited palette. But more importantly, it uses a custom compression I designed to make HTTP transfers fast and lightweight, which I will explain below.
3. Google Drive Server Setup
Instead of standard JPG or PNG files, I upload processed .raw files to Google Drive. While these files can’t be opened by a standard PC viewer, they are perfect for the ESP32.
- How the integration works: Using the Google Drive API, the ESP32 sends an HTTP request that:
Accesses a specific folder via its
FOLDER_ID.Lists all available files.
Randomly selects and downloads one.
To replicate this, you simply need to enable the Google Drive API in your Google Cloud Console and generate an API Key.
https://console.cloud.google.com/getting-started?pli=1
To get the FOLDER_ID, check the url of yout folder:
https://drive.google.com/drive/u/0/folders/xxxxxxxx
4. Microcontroller firmware (ESP32)
Once the data is received, the ESP32 processes it pixel by pixel. Since bandwidth and RAM are limited, I optimized the data forma: achieving a reduction from 374 KB down to just 135 KB in my tests.
My Custom Compression Algorithm. Since we use a 6-color palette, we only need 3 bits to identify each color. This leaves one bit free in every byte if we pack two pixels together. I took advantage of that extra bit (the Most Significant Bit or MSB) to create two modes:

Mode A (Dual Pixel): 0XXX YYY0
If the first bit is
0, the byte contains two individual pixels (XXXandYYY). This immediately cuts the size in half.
Mode B (Repetition/RLE): 1XXX YYYY
If the first bit is
1, the byte indicates that the colorXXXrepeatsYYYYtimes.
This system is extremely efficient for images with solid backgrounds or skies, where many consecutive pixels share the same color.
To make the frame autonomous and run on battery for months, the ESP32 enters Deep Sleep mode immediately after updating the screen. An alarm is set to wake the device after a defined interval (e.g., every 2 hours) to repeat the process and fetch a new photo from Google Drive.
5. Quick setup guide
The complete source code and all necessary files are available in this repository:
https://github.com/myembeddedstuff/EInk_PictureFrame_GoogleDrive
Firmware upload
To get your firmware running, follow these simple steps:
Select Screen: Open
driver.hand uncomment the board you are using (7.3″ or 13.3″).Fill in your Info: Open
FW_Epaper_GDriver.inoand enter your WiFi and Google Drive credentials:ssid&password-> Your WiFi credentials.API_KEY&FOLDER_ID-> The ID of your Google Drive folder & Google API KeyDELAY_TIME_SEC-> Time to wait between photo updates
- Enable PSRAM: In Arduino IDE, go to Tools -> PSRAM -> OPI PSRAM.
- Build & upload.
Image processing
To prepare your images, follow these 3 simple steps:
Install Library: Run
pip install PillowSet Resolution: In the script, set
SCREEN_WIDTHandSCREEN_HEIGHTto match your display.Run & Upload: Execute the script and upload the generated .raw files to your Google Drive
6. Conclusion
By combining the ESP32 with the Google Drive API, we’ve created a truly “serverless” photo frame that doesn’t need a dedicated Raspberry Pi or a fragile SD card to work.
I hope you enjoy this solution! If you have any questions, feel free to reach out, and I will get back to you as soon as possible. Don’t forget to subscribe for more posts, and if you’d like to support my work, you can find the “Buy Me a Coffee” link below.

Love these projects.