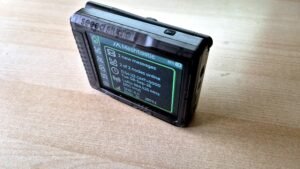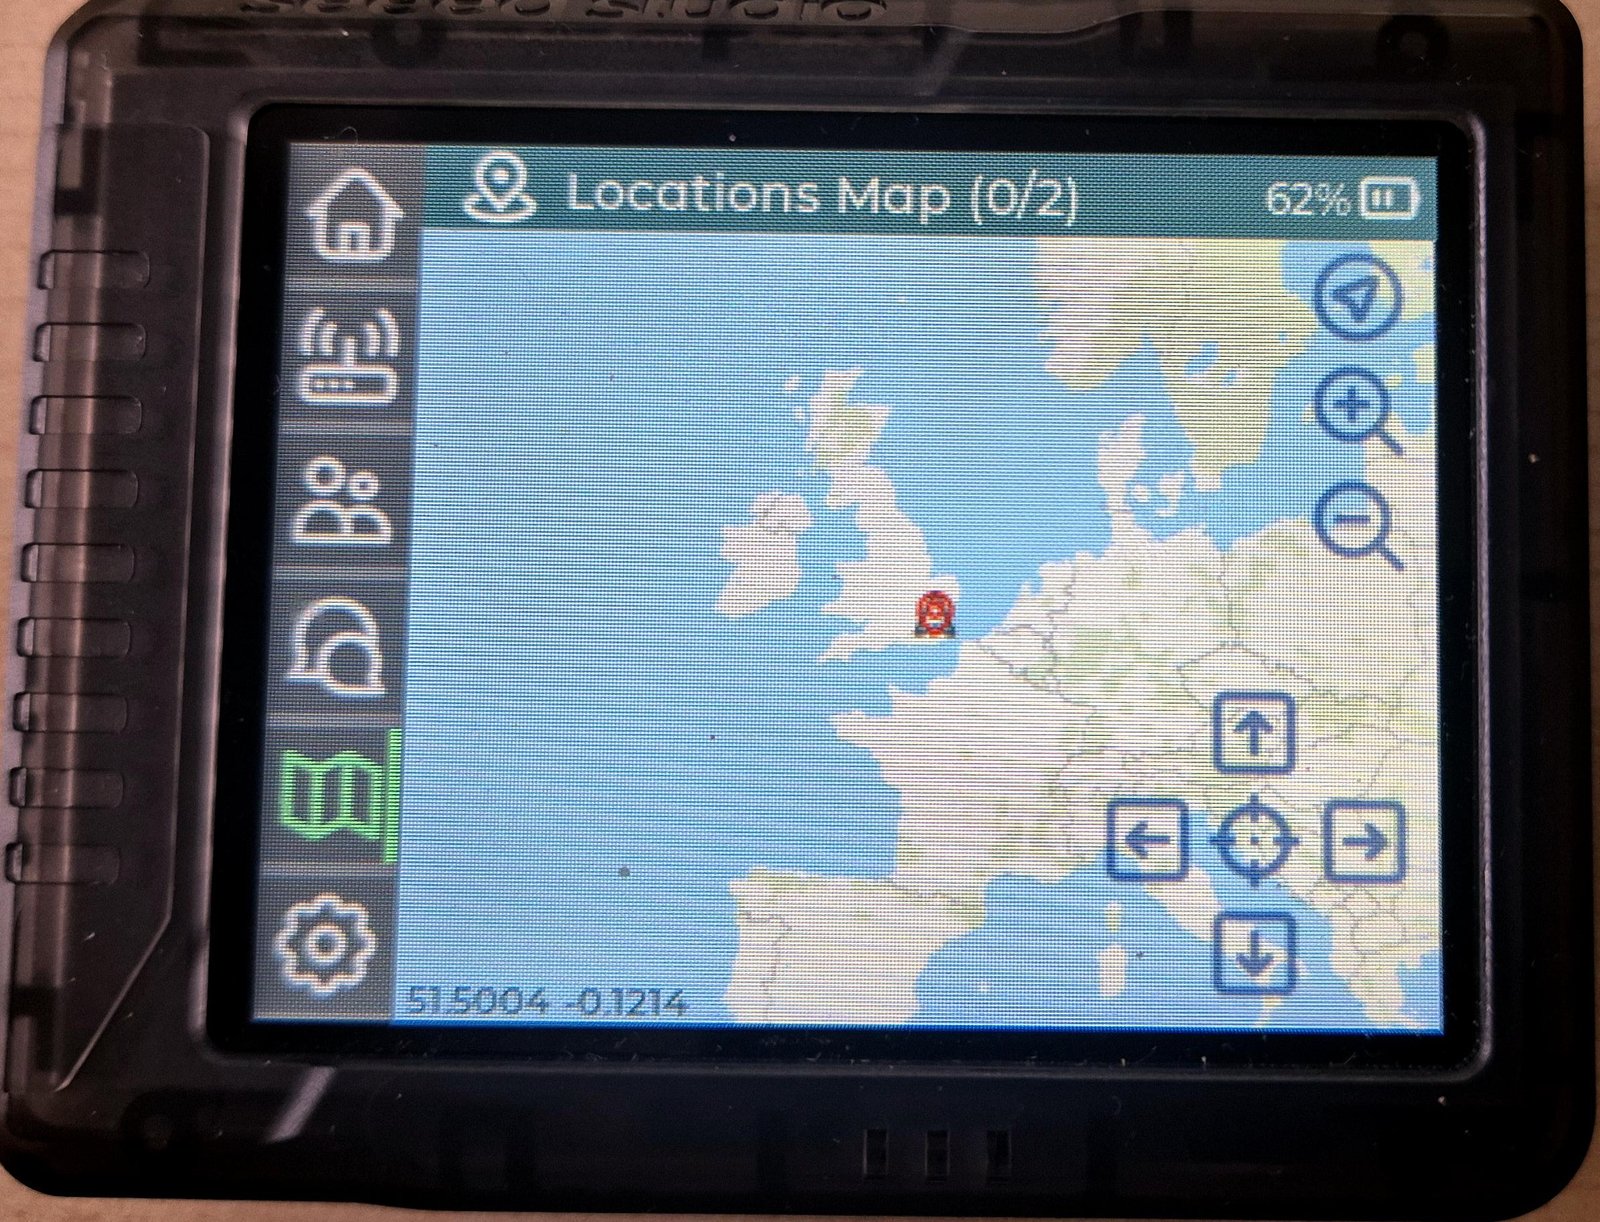
The latest devices hitting the market related to Meshtastic now ship with the MeshtasticUI base firmware, which gives you a much more advanced graphical interface compared to the classic firmware. From the display you can configure everything related to your node: role, channel, sending and viewing messages, and seeing the position of nodes on maps.
This firmware already comes built in on some devices in the Meshtastic network:
- Wio Tracker L2 Pro – Click to see review
- LilyGo T-Deck / T-Deck Plus / T-Deck Pro
But to actually have those maps working, there are a few steps you need to take first, since the map data isn’t stored in the firmware itself. It needs to be loaded onto an external card.
There are two options for this:
- Connect the device over WiFi
- Download offline maps. Recommended method
This guide is based on the work done by the people behind this repository. https://github.com/meshtastic/device-ui/tree/master/maps
Getting the maps over WiFi
To do this, go to the settings button, tap WiFi, and enter the SSID and password of your network.
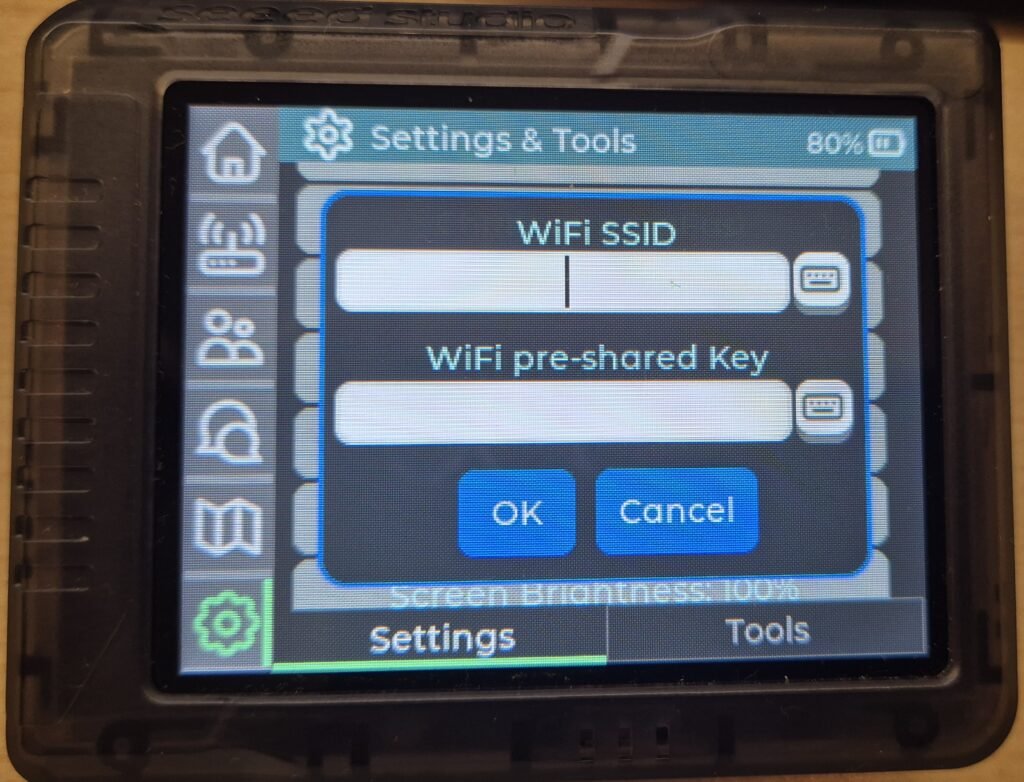
Once it connects, the device will restart and download the maps.
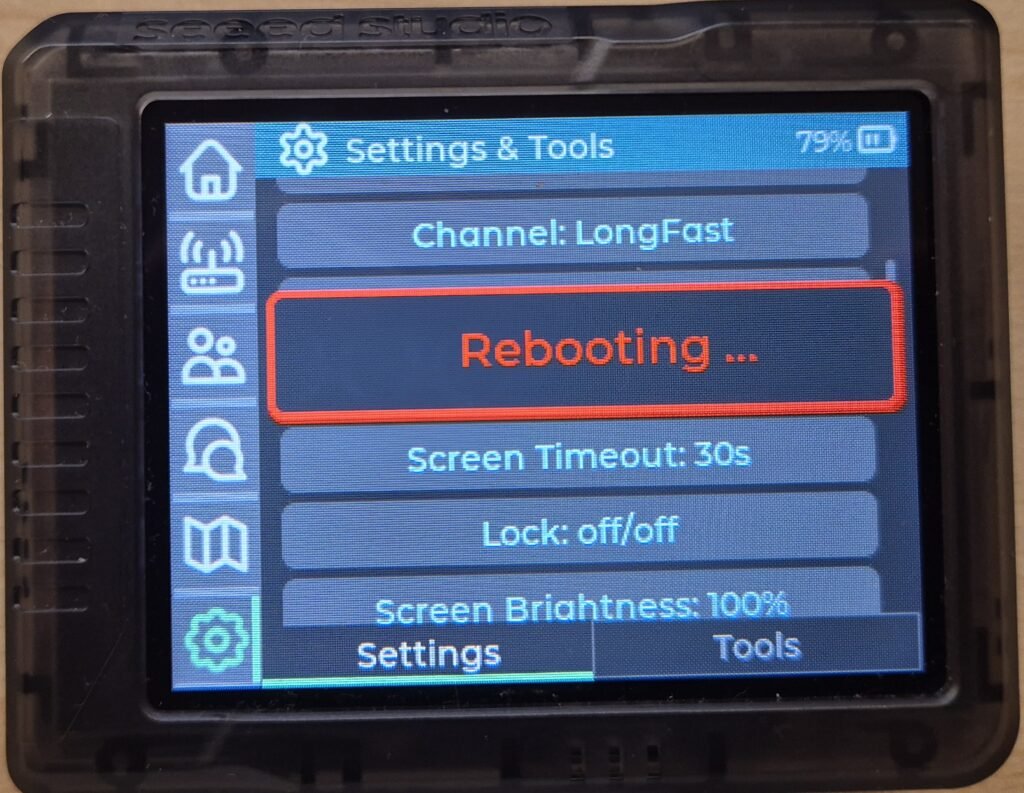
This is the fastest option, but for me it’s not the one I’d recommend. Unless your device doesn’t have an SD card slot. The way it works is that the device pulls your node’s current position and downloads the map data for that area at that exact moment. The downside is that if you’re not connected to that WiFi network, you won’t have the maps available. So if you’re planning to take this device out on a mountain route, you probably won’t have that information with you. That’s why I recommend the following method instead.
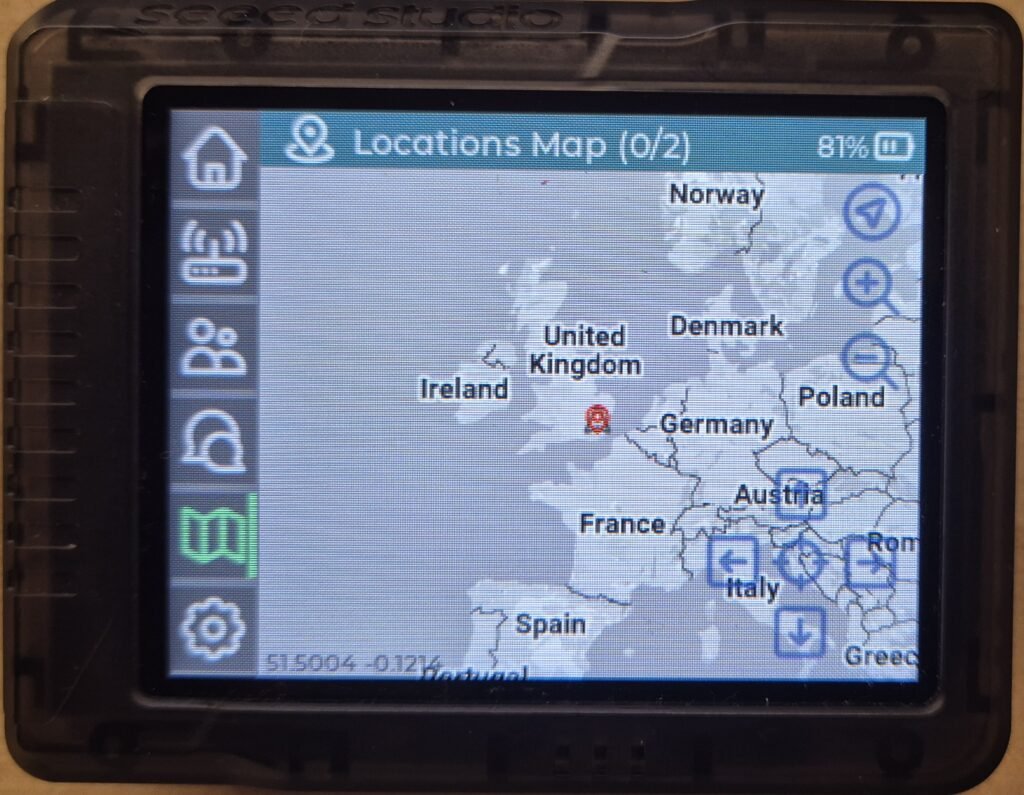
Download offline maps. Recommended method
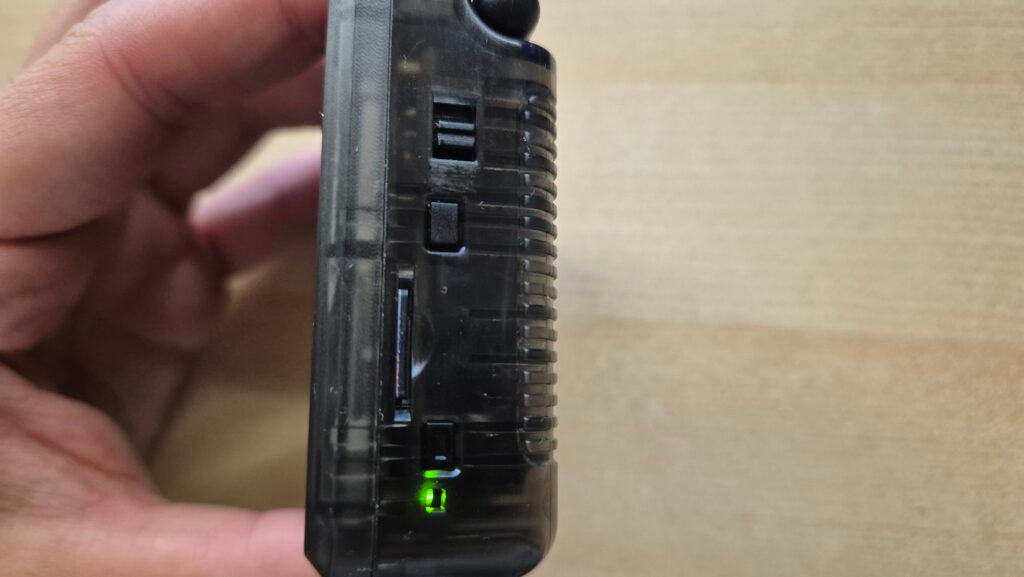
First you’ll need an SD card. To format it, I’d recommend checking out the following post, where I walk through a quick guide on formatting your SD card in case you run into partition issues on Windows.
As for the format you should use for the SD card, here’s what’s recommended according to the guide: “Meshtastic UI supports both FAT32 and exFAT partitions, with exFAT being the recommended format”
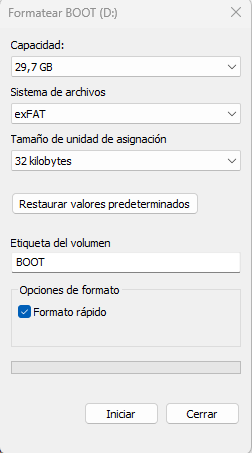
That’s the official recommendation, but in my case, when I formatted the SD card as exFAT and inserted it into the device, it wasn’t recognized. I formatted it again as FAT32 and the device picked it up without any issue. If the developers consider exFAT the better option, I’d still say try exFAT first, but if the card isn’t detected, switch to FAT32.
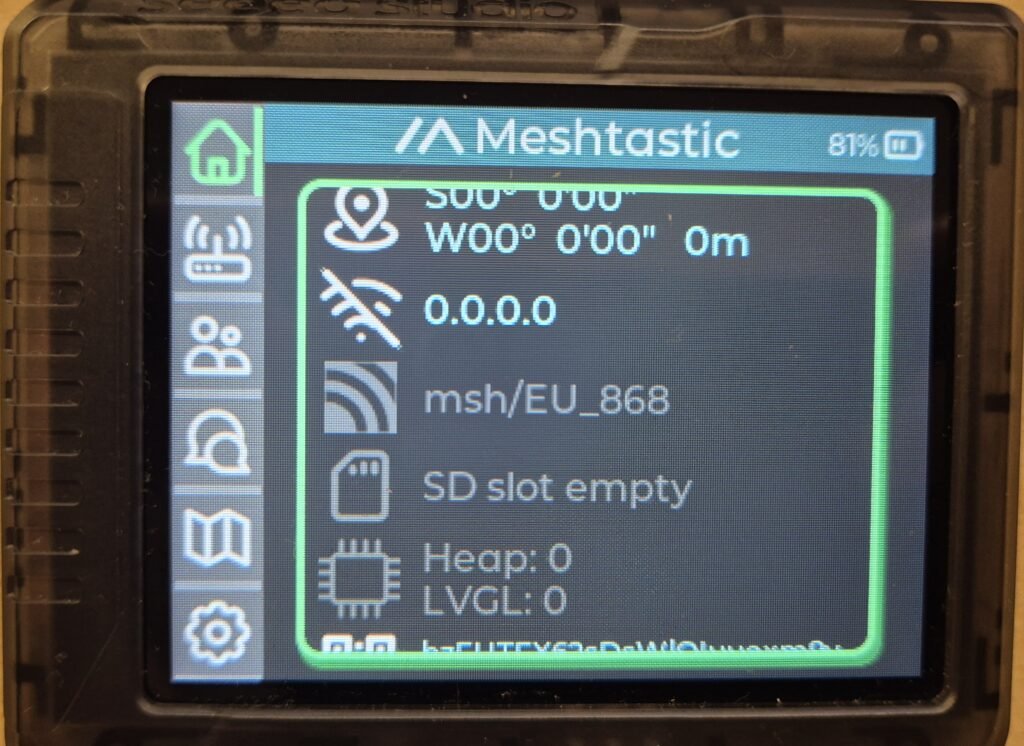
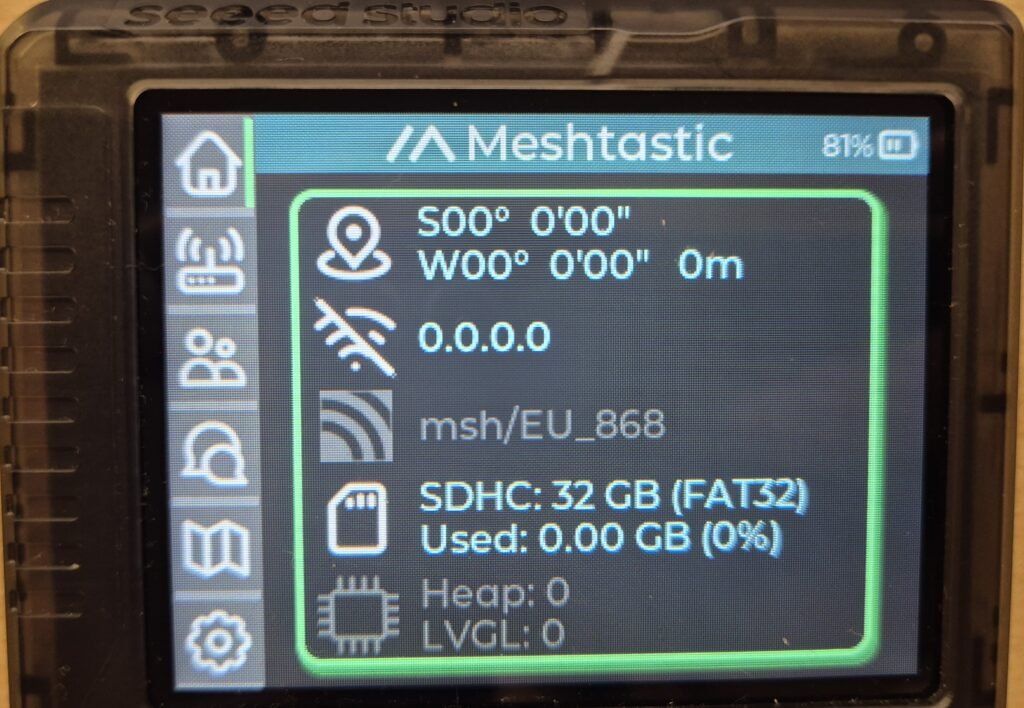
My recommendation is to format the card first and then insert it into the device. Restart it, and at the bottom of the main menu (house icon) you’ll be able to see whether the card is detected.
To get the maps themselves, you need to download the contents of this repository. https://github.com/meshtastic/device-ui/tree/master/maps
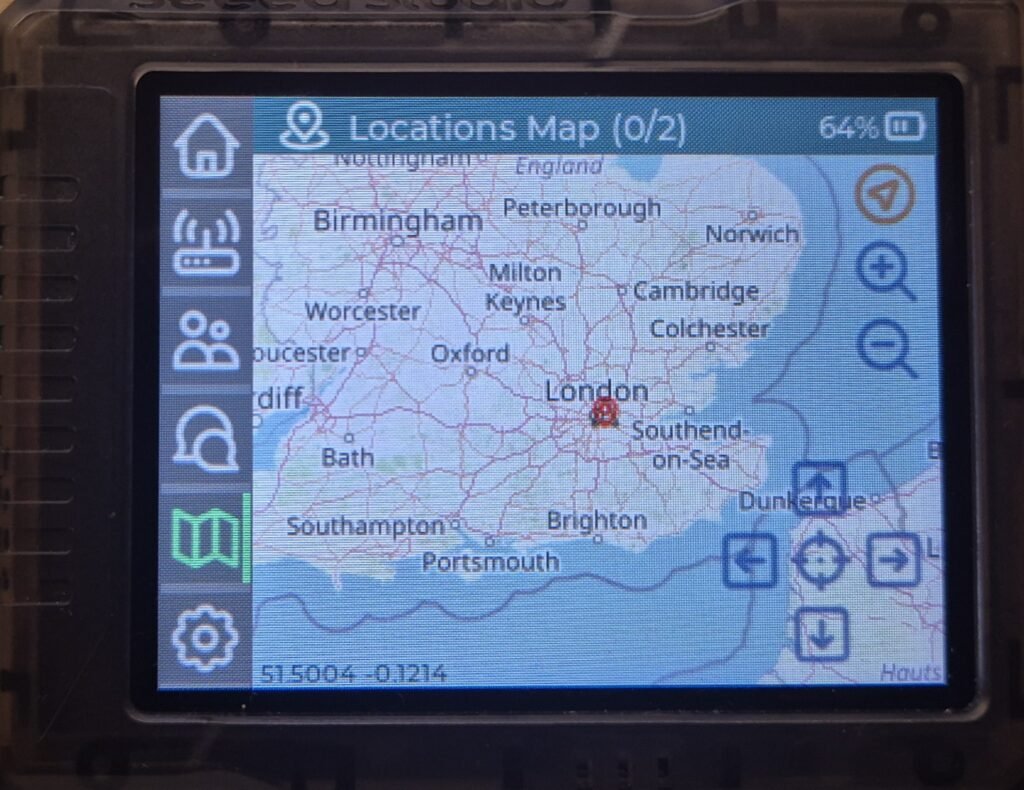
Inside the .zip you’ll find 4 separate zips, each one matching a folder: atlas, dark matter brown, osm, and positron. These aren’t 4 maps of different regions, they’re 4 different visual styles of the same world map. Each folder includes zoom levels 1 through 6, meaning the general view of the whole planet. That lets you zoom out no matter where you are, though for detail in your own area you’ll need more zoom levels than what’s included here.

- atlas: a road/topographic map style, with the typical colors of a traditional atlas. Comes from the Thunderforest service.
- osm: the “standard” OpenStreetMap style, the one you’ve probably already seen if you’ve used the OSM website. Good balance between detail and readability.
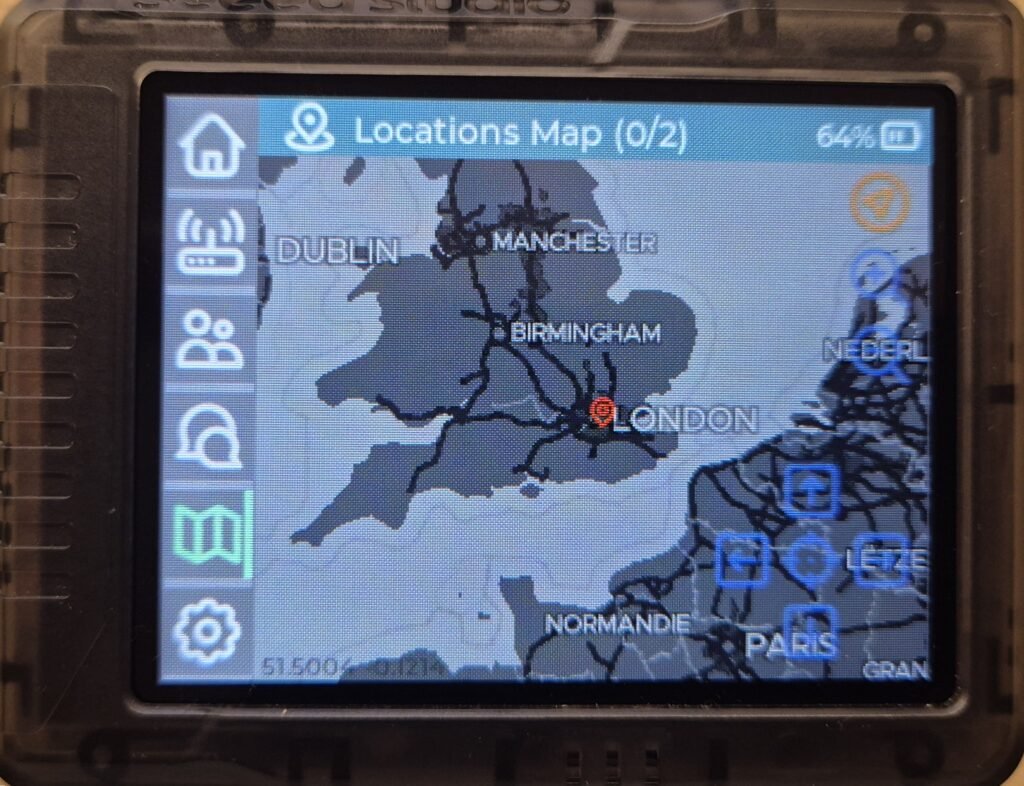
- positron: a light, minimalist style with an almost white background and low contrast. Ideal if you want to prioritize the readability of nodes and markers over the background map itself.
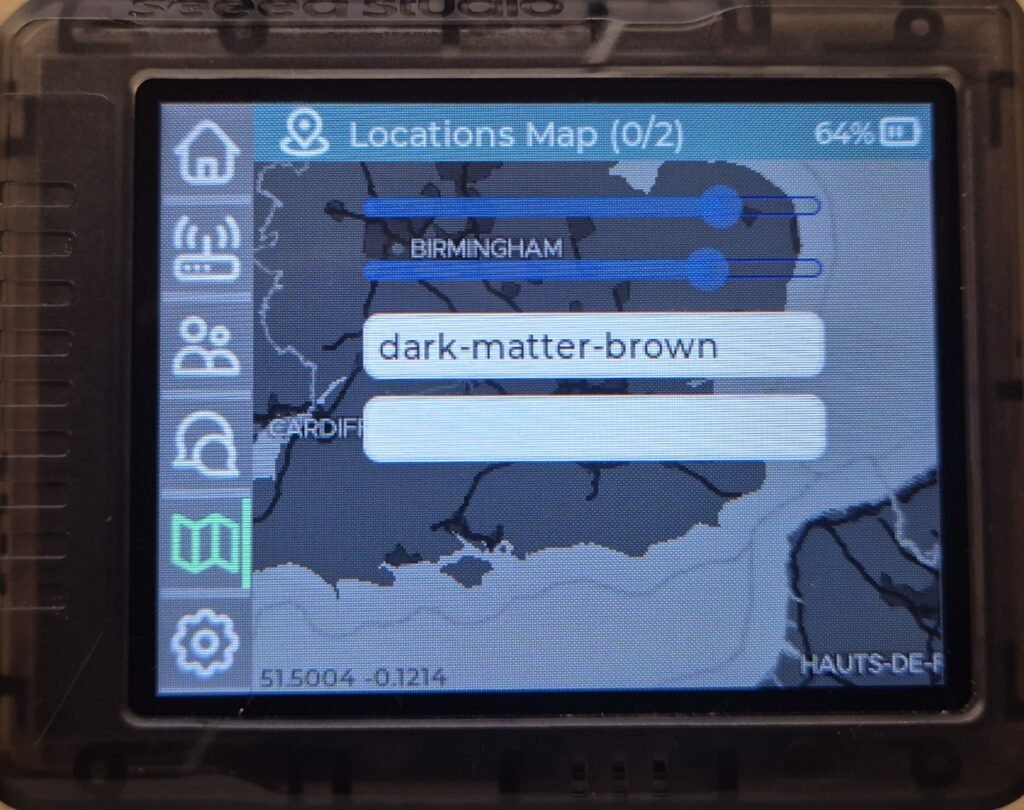
- dark matter brown: the dark version of positron.
Next, create a folder called maps on the card. Inside it, place all the extracted atlas, dark matter brown, osm, and positron folders (don’t just drop the .zip files in there). I’m including a photo below so you can see how it should look.
Once all the files are copied over, safely eject the SD card and insert it into the device while it’s powered off.
When you turn the device back on, you’ll see that the maps window now actually shows them.
Conclusion
With this, you now have maps on your Meshtastic device without depending on being near a WiFi network. If you’re tight on storage space, one or two map styles will be more than enough.
And remember: if exFAT doesn’t work for you, try FAT32.