You are currently viewing Getting Started with ESP32: ESP-IDF GitHub Examples Explained

Getting Started with ESP32: ESP-IDF GitHub Examples Explained

INTRODUCTION

When I started working with the ESP32 and its ESP-IDF framework, I found myself stuck and facing numerous problems when trying to develop even the most basic tasks: How do you initialize an I2C bus? How do you program a periodic timer? All of these questions kept coming up until I discovered how to make use of the documentation provided and look at simple examples to learn how to perform the most basic tasks with ESP-IDF, and then scale my project from there. Keep reading to find out how to get started with ESP-IDF in a practical way.

INSTALLATION

(You can skip this section if you’re already familiar with it.) The first step is to install ESP-IDF using the IDE you prefer. In my case and the one I most recommend is VSCode. I suggest this IDE because it’s useful for programming many things beyond the ESP32. Once you’ve learned how to use this environment, it’ll save you a lot of time if you decide to use it for other projects.

I won’t go into detail about how to install ESP-IDF, since there are multiple guides that explain it very well with images. That way, we don’t lose the thread of what I want to share in this post. But in summary:

Installation is very straightforward. Once you’ve installed VSCode from its official source, go to the extensions section and search for ESP-IDF. Once you find it, click install. The extension includes a setup wizard that automates the installation, but it requires following several steps and downloading toolchains. Follow the official guide to avoid errors:

https://docs.espressif.com/projects/vscode-esp-idf-extension/en/latest/installation.html

RETRIEVING THE EXAMPLES FROM GITHUB

Espressif’s GitHub repository contains all the official examples: from basic tasks like configuring GPIOs and running a Hello World, to more advanced setups like I2C, SPI, UART, and even Wi-Fi and Bluetooth protocol implementations. The repository is:

https://github.com/espressif/esp-idf.git

You can browse all the examples directly from your browser. However, I recommend cloning the repository locally so you can compile and explore the examples in more detail. You can also use the ESP-IDF extension to import the example project you want. I’ve described both options, use whichever works best for you.

OPTION A:

You can skip cloning the repository and open examples directly from VSCode using the command palette in the ESP-IDF extension. Just type ESP-IDF: Show examples and a window will open where you can select and open each example individually. (If you have multiple versions of ESP-IDF installed, it will prompt you to choose one to view the examples with.)Once you select a project, it will ask you to choose the path where the test project should be saved.

OPTION B: (Recommended)

Following my recommendation, in this case we’ll download ESP-IDF version 6.0, which is the latest available in the repo. You can replace v6.0

with your current version. Run the following command from VSCode Terminal:

git clone –recursive -b release/v6.0 https://github.com/espressif/esp-idf.git

Inside the /examples folder, you’ll find all ESP-IDF examples organized by topic. For instance, if you want to implement a timer, go to:
/examples/peripherals/timer_group/gptimer

OPENING AN EXAMPLE PROJECT

Once the repository is downloaded, to open, compile, edit, and flash a project:
  1. In VSCode, click File → Open Folder
  2. Select the project location, for example: /examples/peripherals/timer_group/gptimer
  3. Inside that folder, you’ll find:
    • CMakeLists.txt
    • README.md
    • sdkconfig.defaults
    • /main
  4. In README.md, you can check which ESP32 models support the example, to ensure compatibility with your development board. It also contains essential explanations to get the example working.Some projects may depend on external components. For example, the USB communication demo includes a Python script to test communication between the flashed microcontroller and a host.

Configuring the Project

It’s also recommended to open the SDK Configurator Editor from the bottom bar of the IDE. When creating your own project based on one of these examples, some configurations may need to be modified to make it work. I won’t go into detail about all the available settings, especially since their appearance may vary depending on the ESP-IDF version.

ESP-IDF SDK Config

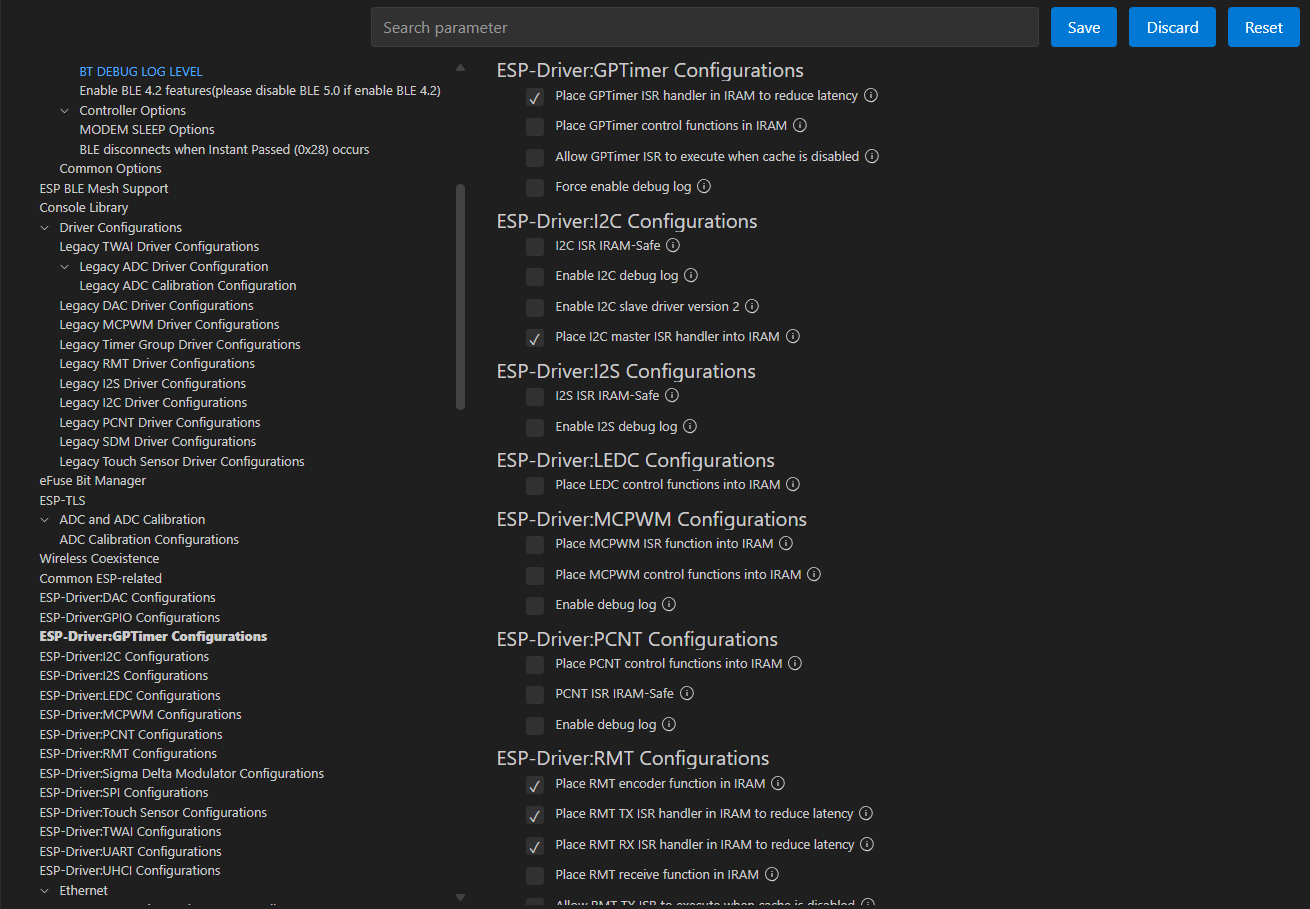
Pay close attention to which options are enabled or disabled. Next to each setting, there’s usually an info icon that provides more details when clicked. Enabling or disabling certain options may also add or remove related features.

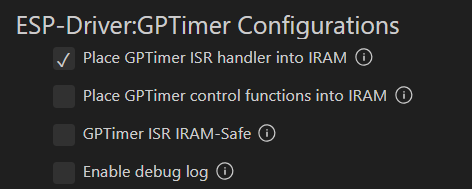
For example, if we inspect the SDK configuration for the GP Timer example, we’ll find the following setting:

“Place GPTimer ISR handler into IRAM” → This is a recommended option if you need precise timing or fast interrupt response. It stores the interrupt handler in RAM, improving performance by executing code directly from RAM instead of flash.

In other examples, some settings are not just recommended—they’re required. For instance, in Bluetooth examples, the Bluetooth enable option must be activated.

Afterwards, you’ll be able to compile, flash, and debug the basic examples as you wish.

CONCLUSION

In this brief guide, I wanted to quickly explain how to get started with ESP-IDF. One of the biggest challenges I faced early on was the lack of simple example code that I could debug and edit freely to understand how the ESP-IDF SDK worked. Unlike other microcontrollers, I couldn’t find official forums to ask questions. That’s why these examples helped me a lot in learning the fundamentals of this microcontroller.

The key to learn basic ESP-IDF examples is in its own GitHub repository. Once you’ve mastered the basic examples, you’ll be able to combine peripherals, protocols, and tasks into much more complex projects.

In the next part of this guide, we’ll dive into an aspect of ESP-IDF that many developers tend to overlook: testing code outside of the hardware. Why is this important? When you’re developing a product, you know that even a small change can break something that was already working. To avoid that nightmare of regressions and unexpected bugs, I’ll show you how to use ESP-IDF’s testing tools to validate key parts of your logic. It’s an essential step to ensure your firmware is robust and professional.

If you want to be the first to receive firmware and hardware tips, subscribe to the newsletter. You can also leave a comment to share your thoughts or suggest a topic you’d like me to cover.

Leave a Reply